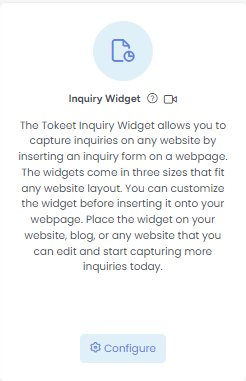
The AdvanceCM Inquiry Widget allows you to capture inquiries on any website by inserting an inquiry form on a webpage. The widgets come in three sizes that fit any website layout. You can customize the widget before inserting it onto your webpage. Place the widget on your website, blog, or any website that you can edit and start capturing more inquiries today.
Generating and installing the Inquiry Widget
Click on the Integrations option on the top navigation bar then on the Widgets submenu.
Select Configure on the Inquiry Widget option.

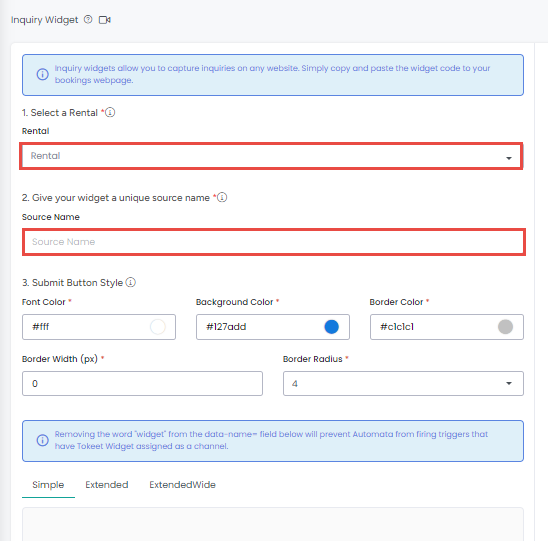
Complete the required info on the Inquiry Widget Configuration screen.

Select a Rental
Widget source name
Customize fonts and colors
Selecting the fields above will display the changes in real-time in the widget preview pane to the right of your configurations.
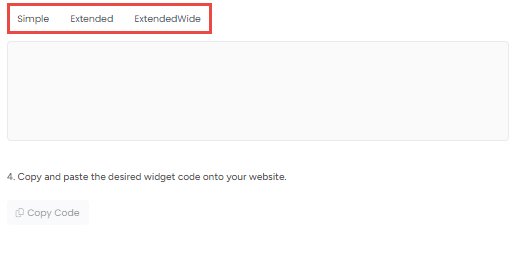
The generated widget has three modes:

Simple Mode: the user can select an arrival date, departure, guest name and guest email.
Extended Mode: this allows for the gathering of more information such as the number of adults, children, phone number and brief messages.
Extended Wide Mode: gathers more information such as the number of adults, children, phone number and brief messages--while utilizing a wide design.
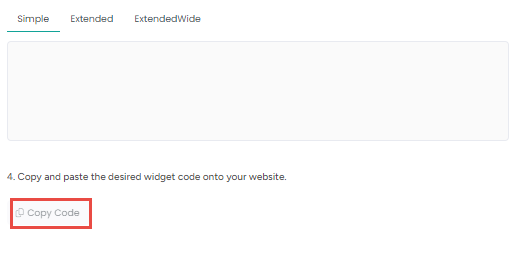
Click on the Copy Code button and paste it into the source HTML code of the intended site.

AdvanceCM widgets may be used on any site, including one built with Wordpress. Please see instructions on how to include JavaScript code in a Wordpress site here.
You may edit inquiry widget code for deep customization. Please see the Help Center article on Inquiry Widget Advanced Configuration for more info.