In order for iCal connections to work with two-way synchronization, you will want to both import a calendar into AdvanceCM and export a AdvanceCM calendar into your connected channel.
To Export an iCal URL from AdvanceCM:
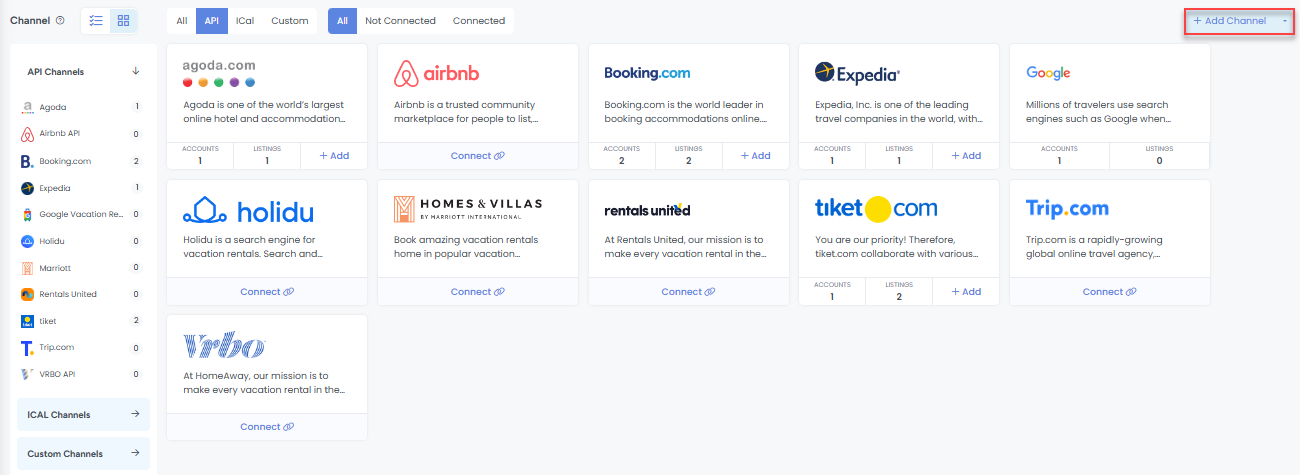
Navigate to the Channels module from the top menu bar

Now on the Channels List view click on the + Add Channel button
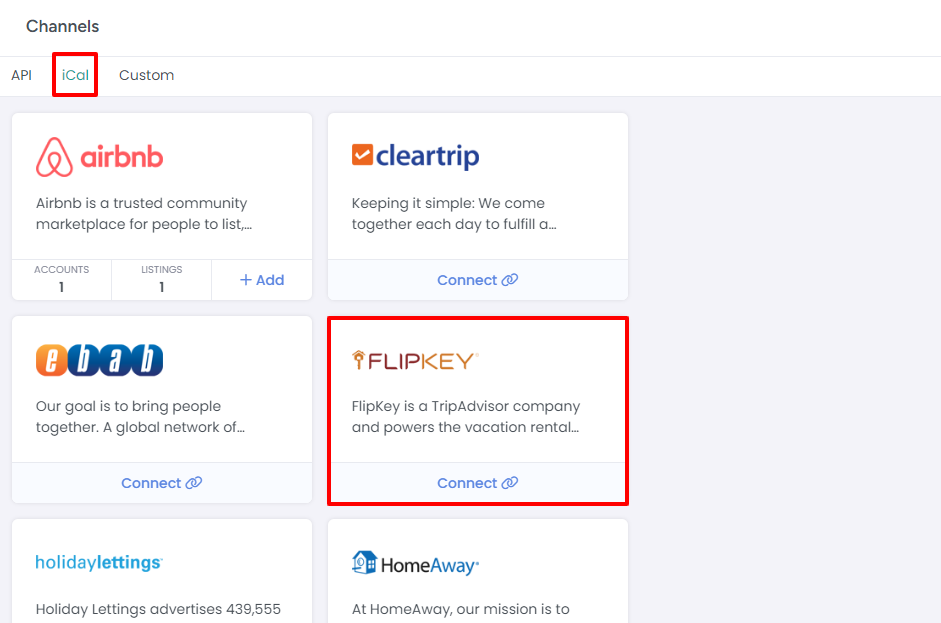
This will load the Channels Overlay where you can click on the iCal tab then choose select Flipkey, Homeway or another iCal channel. If the channel is not available in the list, select "Unknown" then click on Connect.
In the Exported Calendars section, click the green "Add" button

Select a Rental from which you are exporting the calendar
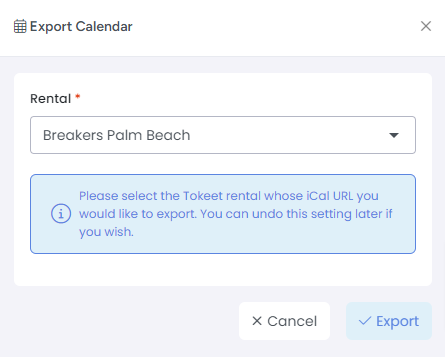
Click Export
In the popup, select and copy the URL
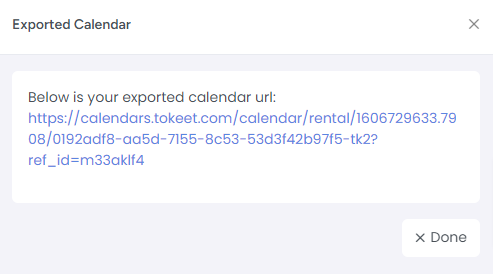
Click Done
Scroll down to the channel's calendar import section, paste the exported AdvanceCM URL and save.
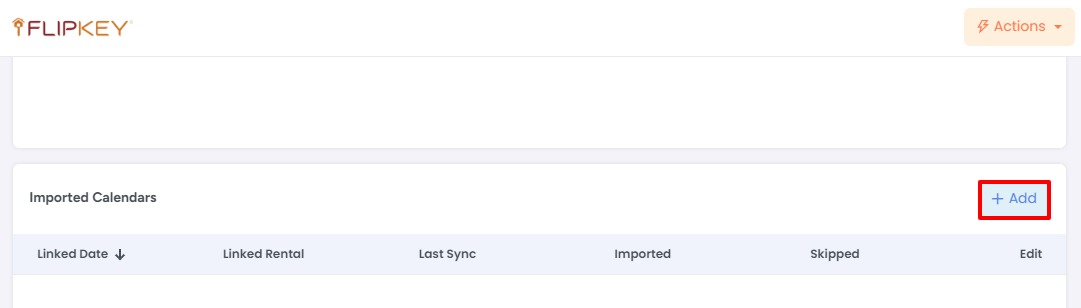
To Import an iCal URL into AdvanceCM:
Navigate to the Channels module from the top menu bar
Now on the Channels List view click on the + Add Channel button

This will load the Channels Overlay where you can click on the iCal tab then choose the iCal channel, such as Homeaway or Flipkey and click on the Connect button
In the Imported Calendars section, click the green "Add" button
Give your calendar a name, select the associated Rental and paste the iCal calendar
URL
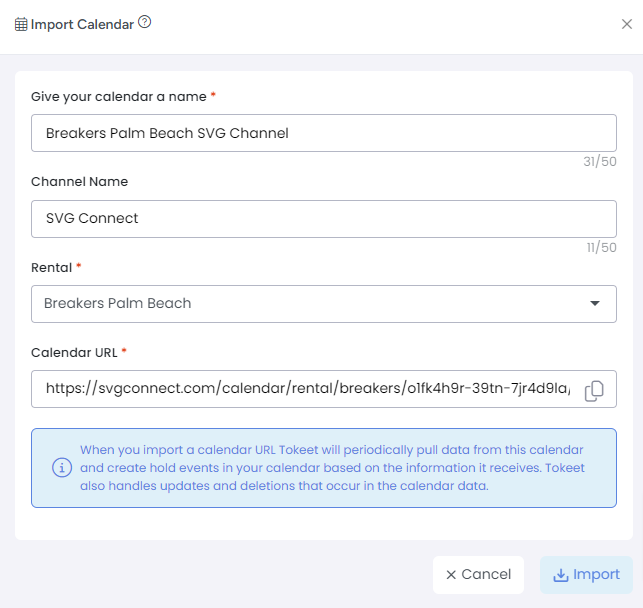
Click "Import"
To troubleshoot a Stale iCal connection:
(Stale means there is data in AdvanceCM that was not imported by the iCal channel)
In Channels, Click on the Stale connection
Copy the URL field (all of it)
In your connected ical channel e.g. Flipkey, delete the AdvanceCM connection
In your connected ical channel e.g. Flipkey, re-import the AdvanceCM connection