AdvanceCM's integration with Airbnb allows you to create a new listing in your Airbnb account based on your AdvanceCM rental. Doing this is easy:
First, create a rental in AdvanceCM. Please see this article for more info on creating rentals.
You will also need to set up rates for the rental. Please see this article for more info on setting rates.
Once your rental and rental rates are created, images are uploaded, and description and amenities are entered into AdvanceCM you can publish the rental to your Airbnb account.
Listing creation is restricted to paid AdvanceCM accounts, at least one active listing already in the Airbnb account, and the Airbnb account must be in good standing with Airbnb.
Please note that Airbnb has certain content criteria for publishing listings and you should complete your rental as much as possible before attempting to publish in Airbnb. View the requirements here.
Create an Airbnb Listing
Navigate to your Channels Connections list by clicking "Channels" in AdvanceCM

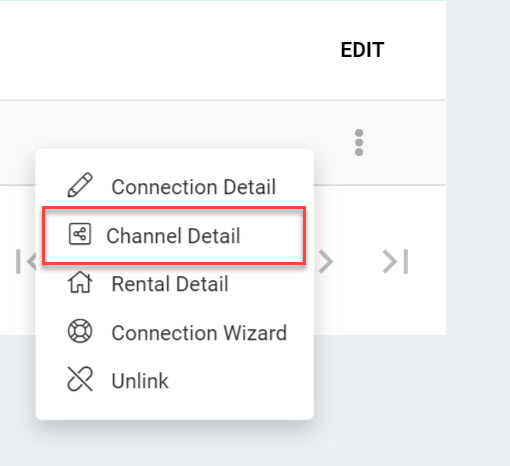
Find any Airbnb API connection and click the edit (three dots) icon to the right of it
Select "Channel Detail" to navigate to the Airbnb Channel Detail page
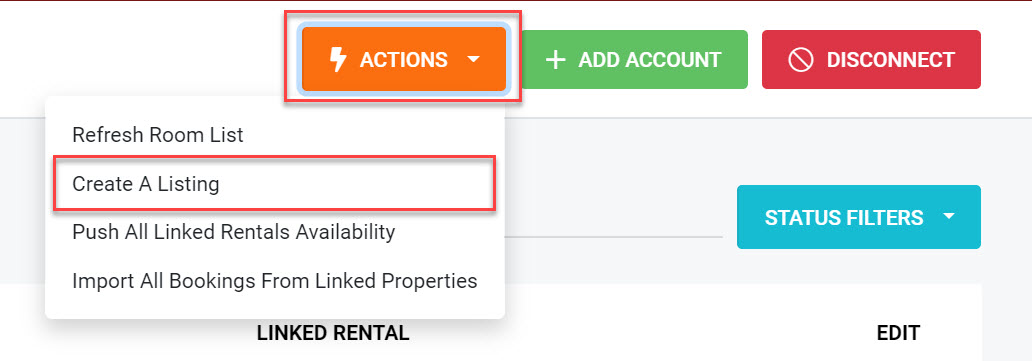
On the Airbnb Channel Detail page, click orange Actions button
Click the "Create a Listing" option.
Select your Airbnb account ID
Select AdvanceCM rental you wish to push to this account
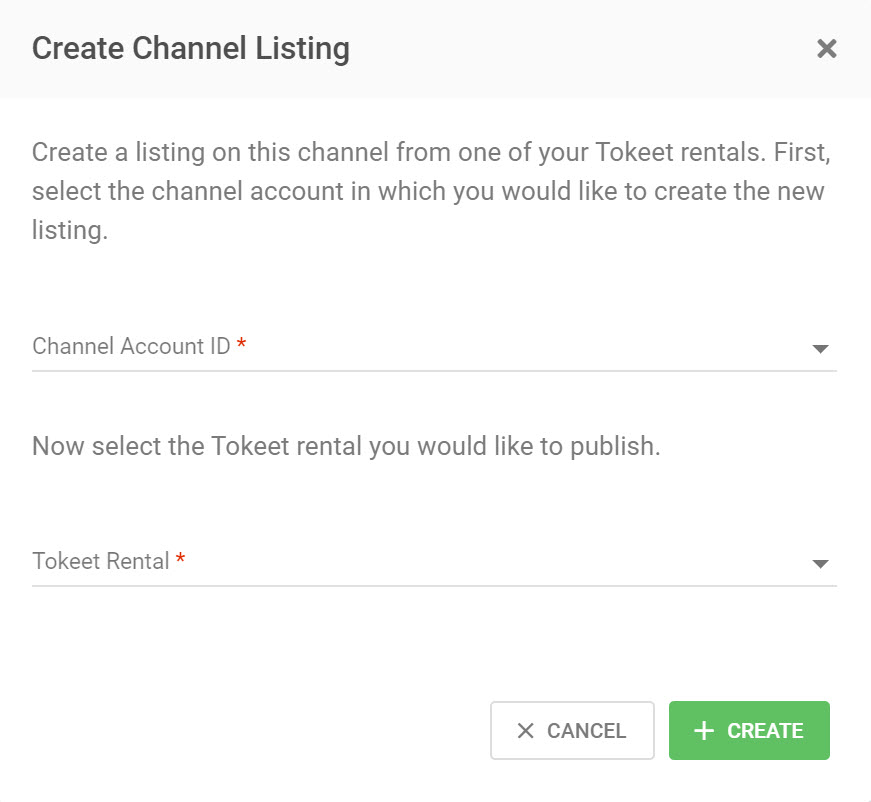
Click "Create"
Airbnb account URLs are in the format https://www.airbnb.com/users/accountid/listings where account id is the Airbnb property id displayed in AdvanceCM.You should now receive a success message that your listing was created.

Your new Airbnb listing will now be shown in the "Mapped Rentals" section of the screen.
Your Airbnb listing now has some basic information. Complete it by following the steps below.
Update Booking Preferences
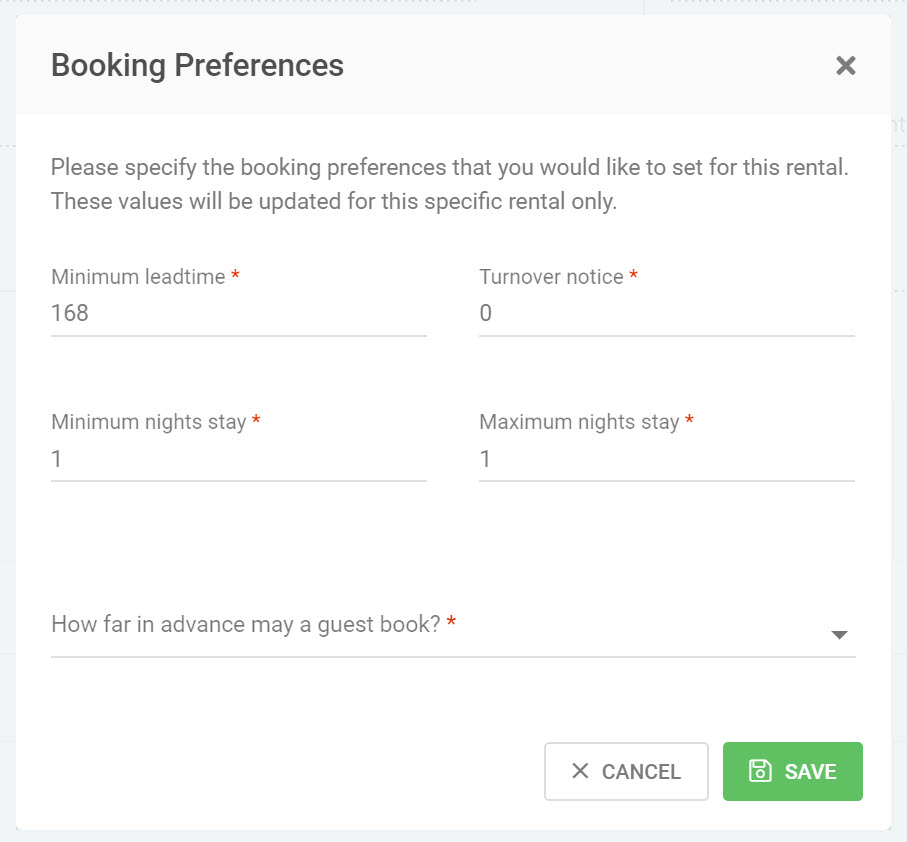
Click on the channel connection (listing) and navigate to Actions > "Booking Preferences"
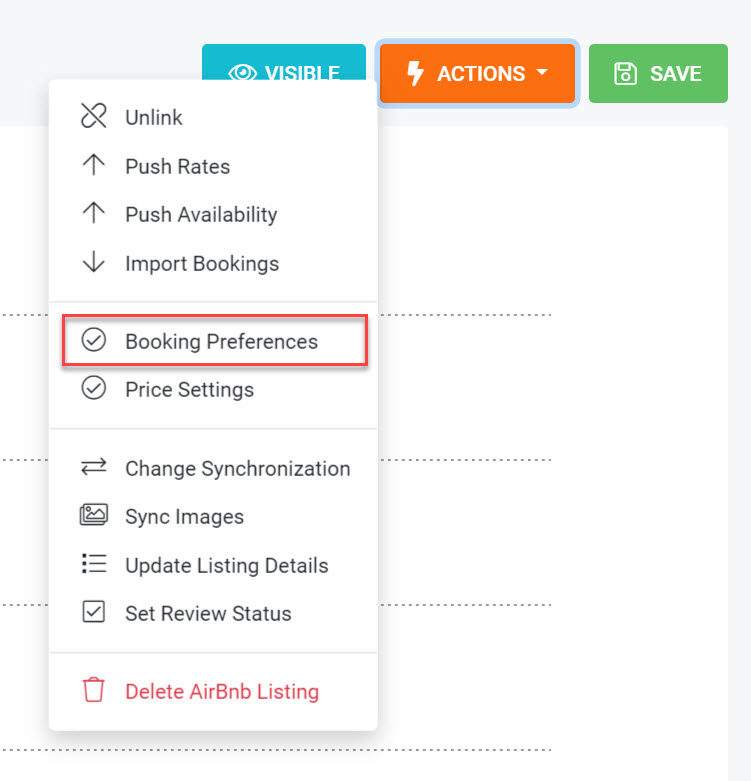
Specify the booking preferences that you would like to set for this rental.
Sync Images
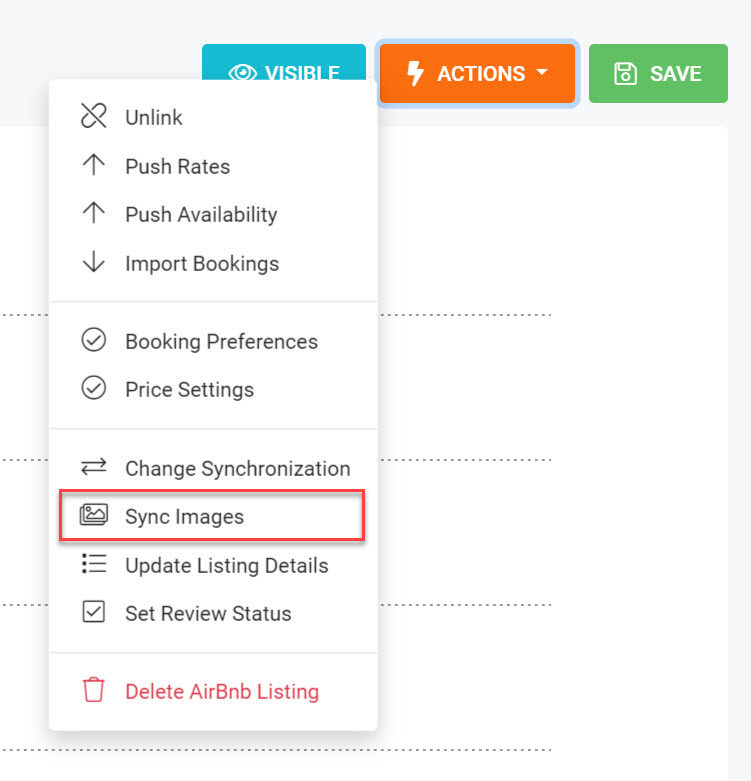
Navigate to Actions > "Sync Images"
Update Listing Details
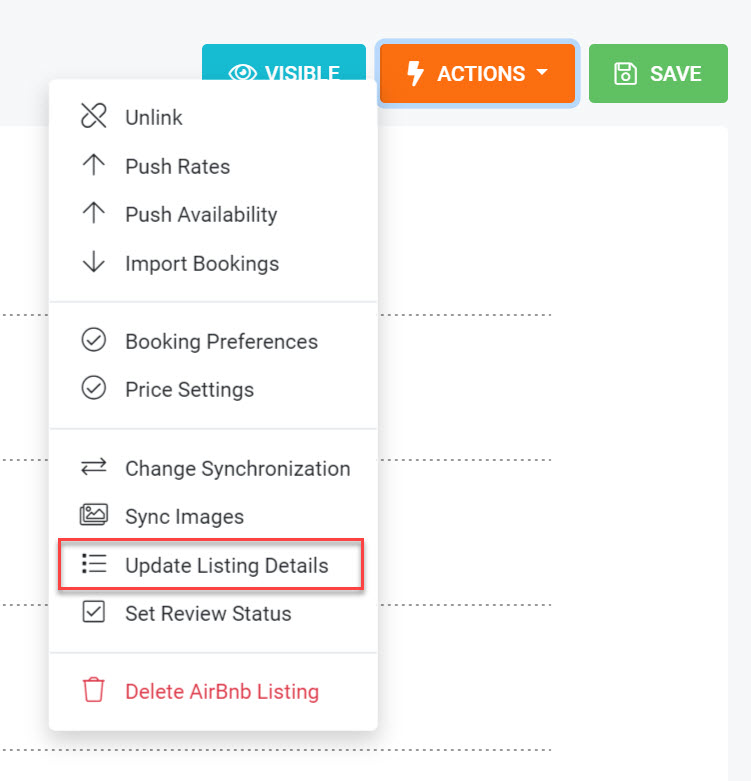
Navigate to Actions > "Update Listing Details"
Set Review Status
The new listing will be in "New" status on Airbnb.
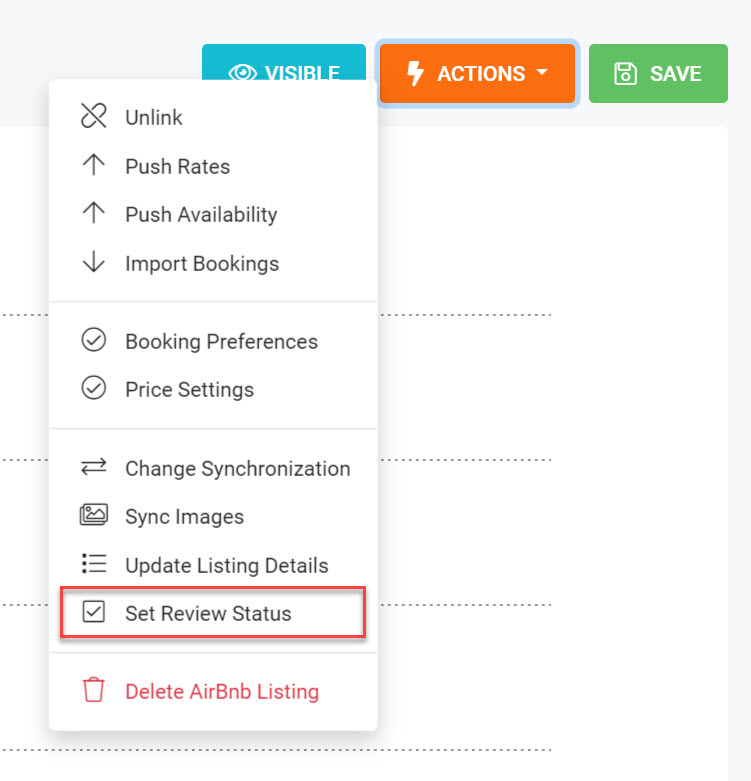
Navigate to Actions > "Set Review Status", if you would like to change the status to "Ready for Review."
Select "Ready for Review" and click "Save", in order to be listed on Airbnb.
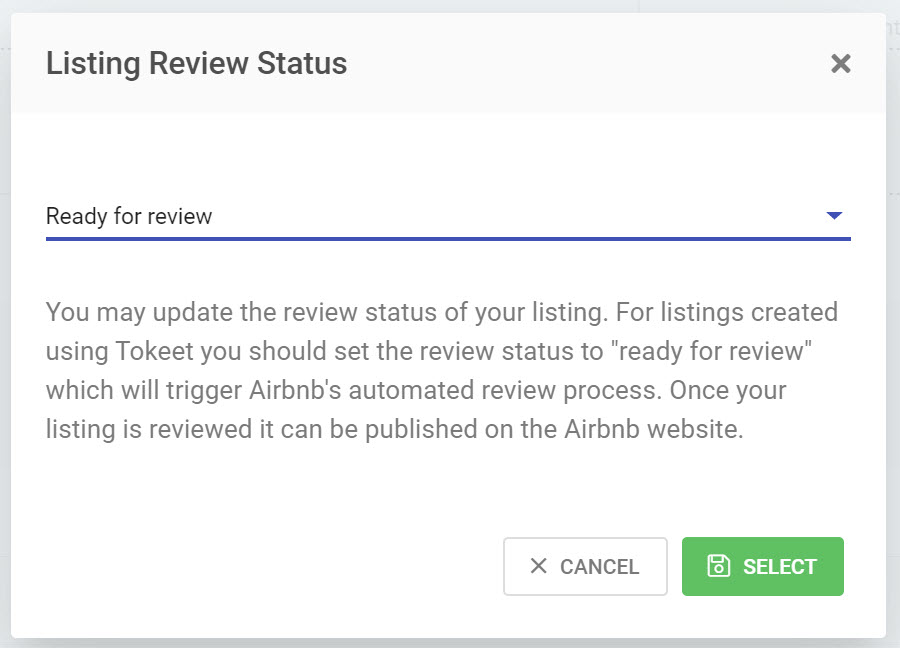
That's it! You have published a listing on Airbnb and set review status to "ready for review".
Airbnb automatically approves or rejects listings based on content criteria. You will receive a notification in the connection detail logs when this happens. Please note that some listings require manual approval, in which case the status is set to ready_for_review. Once these listings are reviewed by Airbnb, you will be notified of the result. A listing will only need to be approved once to be added onto the platform.
You will have to login to your Airbnb dashboard to publish the newly created listing. Please see the Airbnb Host Guide for instructions on doing so. If your newly created listing is approved by Airbnb, Airbnb sends an email to the Host to review the listing and publish it. For now, Airbnb sends an email when the Host account's first listing is ready for publishing, but not for subsequent listings. You will see the status change in the AdvanceCM connection details logs.
You should log into the Airbnb sync page to review the listing. On the sync page, you can perform three actions:
Select a synchronization category for the listing. You choose to either manage Everything through AdvanceCM or manage a Limited set of features (rates and availability) through AdvanceCM.
Map imported listings to Airbnb existing listings (optional).
Publish a listing