The guest list contains information of anyone who has ever submitted an inquiry to your AdvanceCM rentals. The inquiry can come from one of your connected channels, your AdvanceCM websites, your AdvanceCM website widgets, or entered directly into the AdvanceCM dashboard. AdvanceCM automatically saves every guest for future use.
The AdvanceCM guest list offers a number of features designed to allow you to store and access the details you require as well as making it easy to see the full guest record from anywhere in the app.
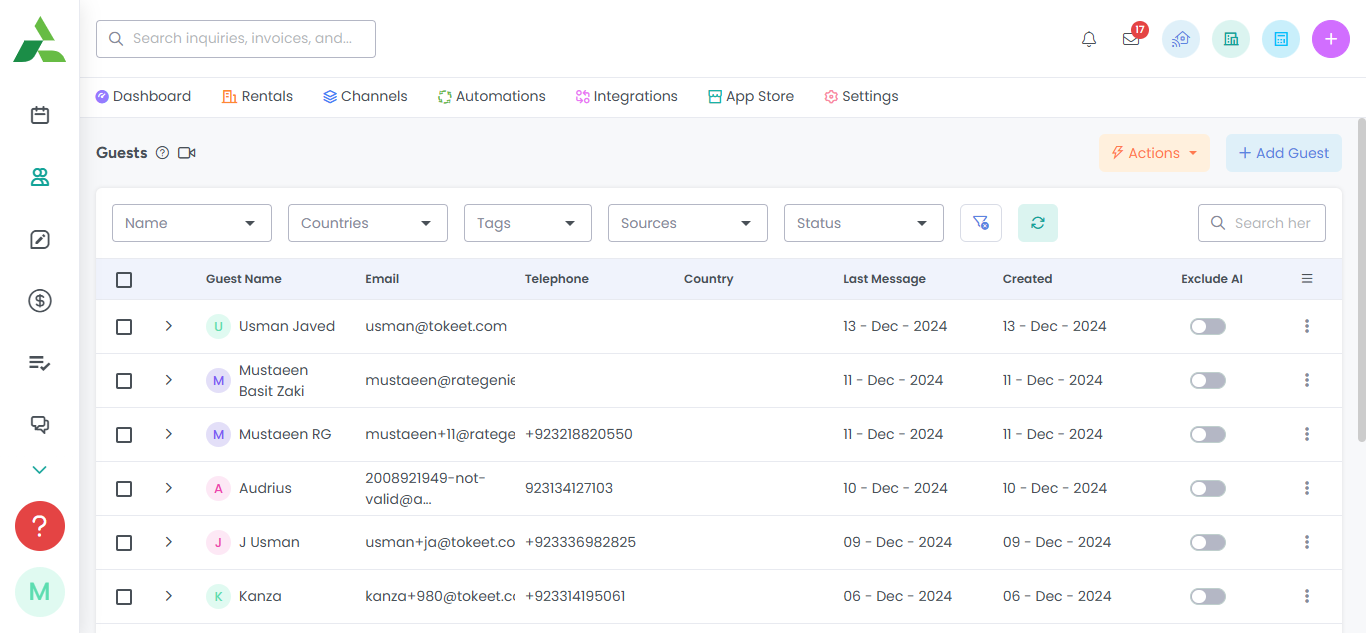
A guest details overlay can also be opened simply by utilizing the Universal Search option at the top/left of your screen. This is available from any screen on your AdvanceCM account.
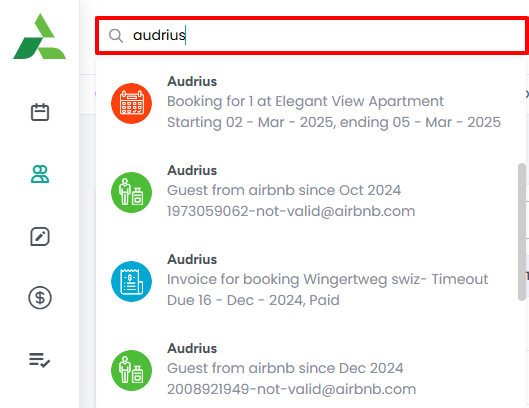
The AdvanceCM guest list offers you the option of using the filters to select multiple guests and take an action that will apply to all selected guests.

The complete guest record is designed to allow you to easily do any of the following from within the guest record.
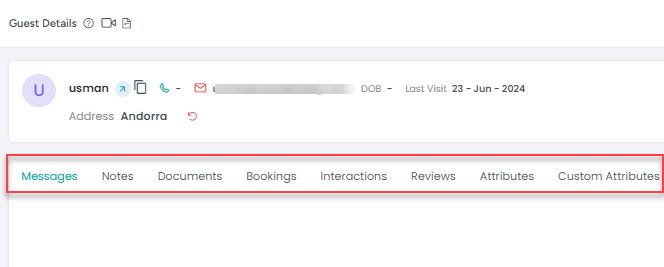
Send Messages
Add Notes to the guest record
Upload files or photos pertinent to the guest
Record Interactions such as phone calls and meetings
View and access all bookings relating to the guest
Set and create custom attributes
Simply select the tab on the guest record overlay that corresponds with your needs.
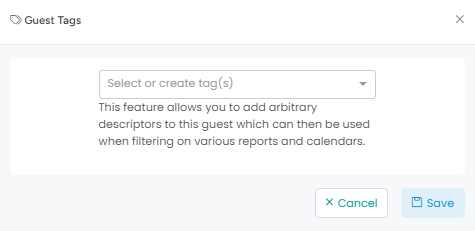
You can assign Tags to guests which will create filter options so you can quickly pull up a list of guests with the same Tag on various reports and tables.
How to Add a New Guest?
1- On the left panel of your AdvanceCM dashboard, click on the Guests icon

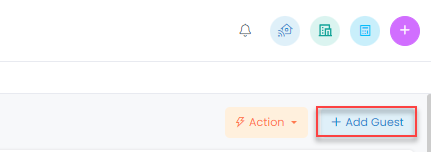
2- You will be directed to your AdvanceCM Guest List view. Now click the “Add Guest” button on the top-right section of the screen.
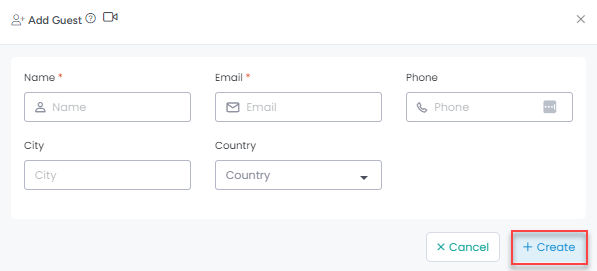
3- Enter the new guest’s information in the dialog box that appears & click “Save”. This new guest will now appear in your guest list
How to Update Guest Information?
On the Guest list view, click on the guest row whose information you’d like to update.
The guest detail overlay will open. Now click on the pencil icon as shown below:

3- On the Edit Guest popup, enter the updated information where necessary and click on the blue “Save” button.
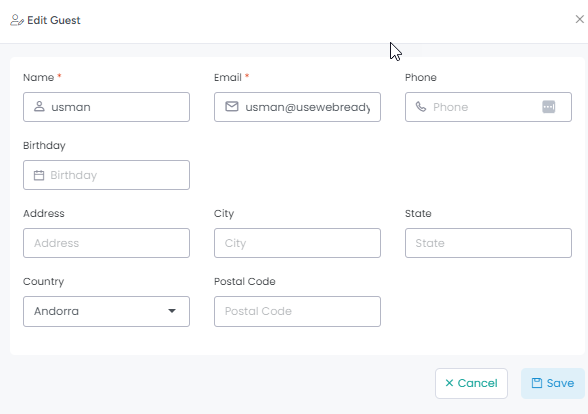
5- Your updated guest information has been saved!