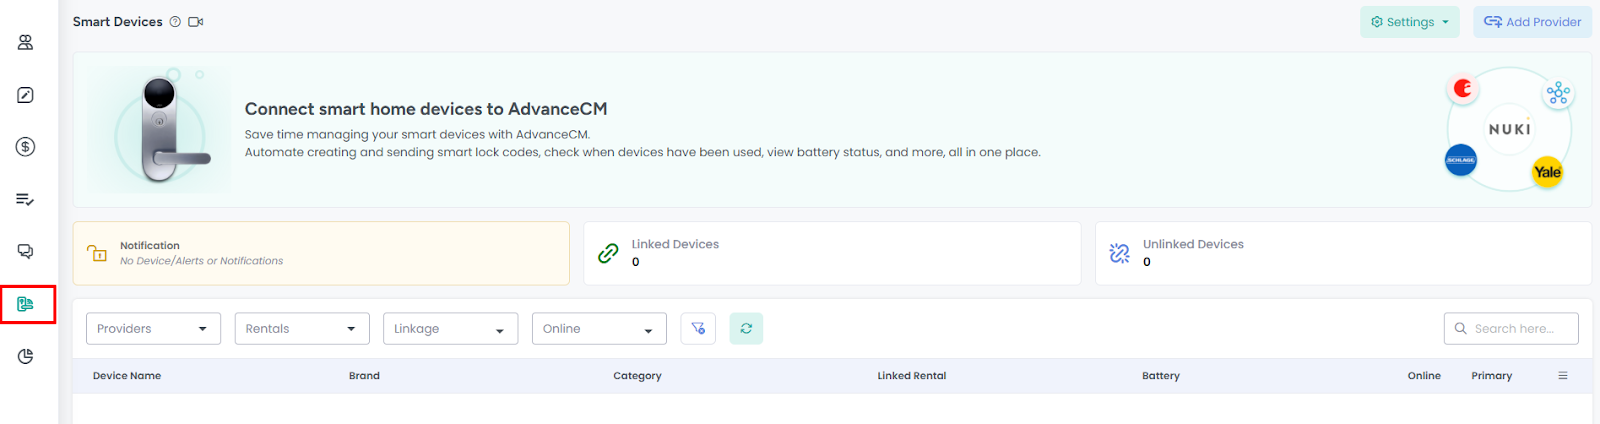
How to access Smart Devices?
You can access Smart Device module from left side menu by selecting icon as mentioned in below screenshot
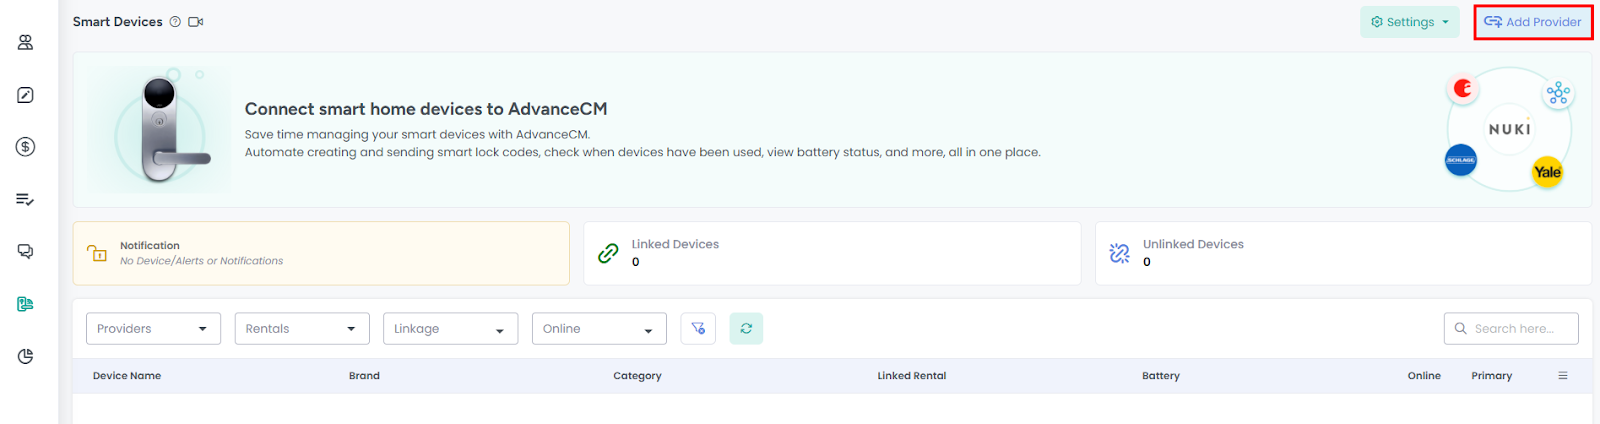
Smart Device Connection process
Click on the Add Provider button as mentioned in below screenshot
Now it will open overlay to subscribe
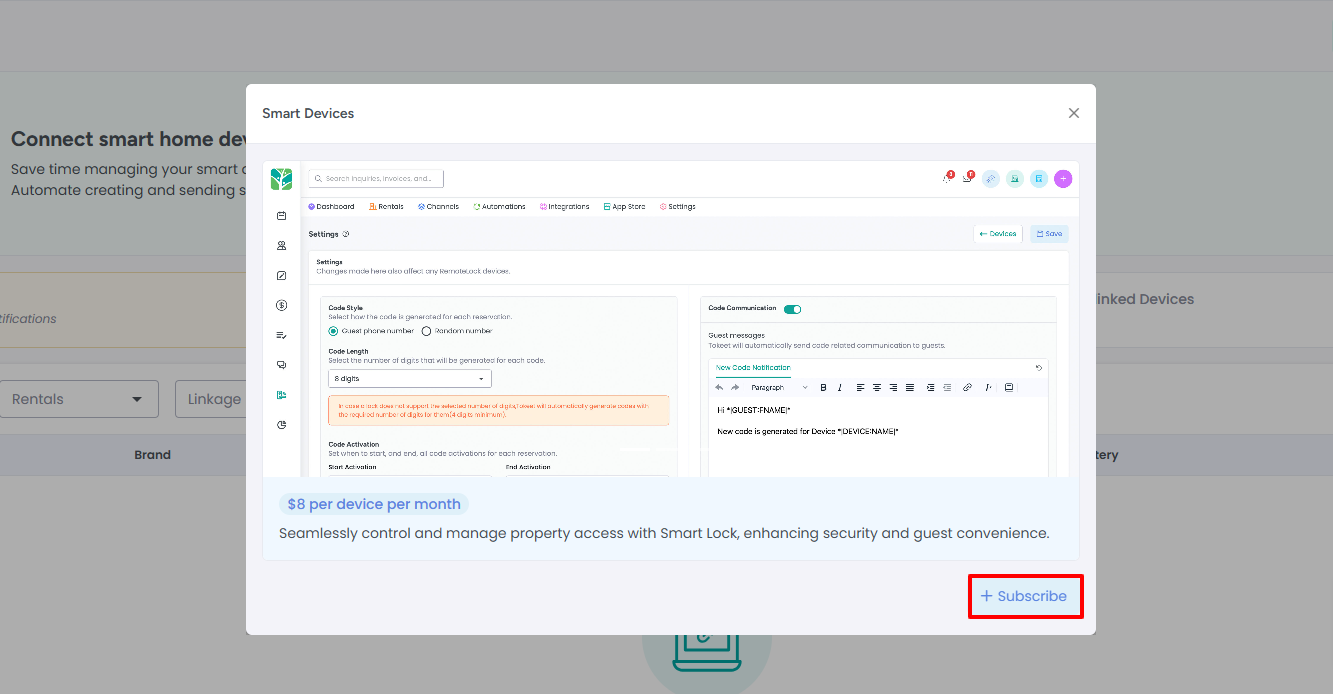
Once you click Subscribe button it will activate subscription for your Smart devices in your AdvanceCM account. Once subscribe successfully, Click again on Add Provider button
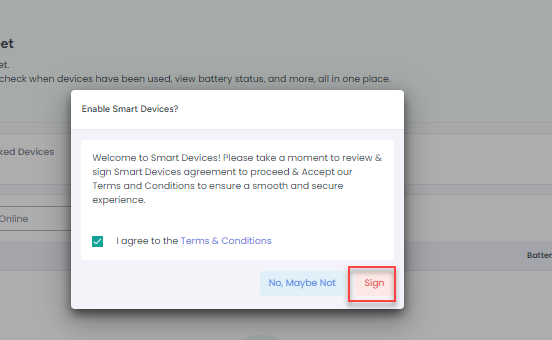
Now popup will appear to agree terms and conditions and click Sign button
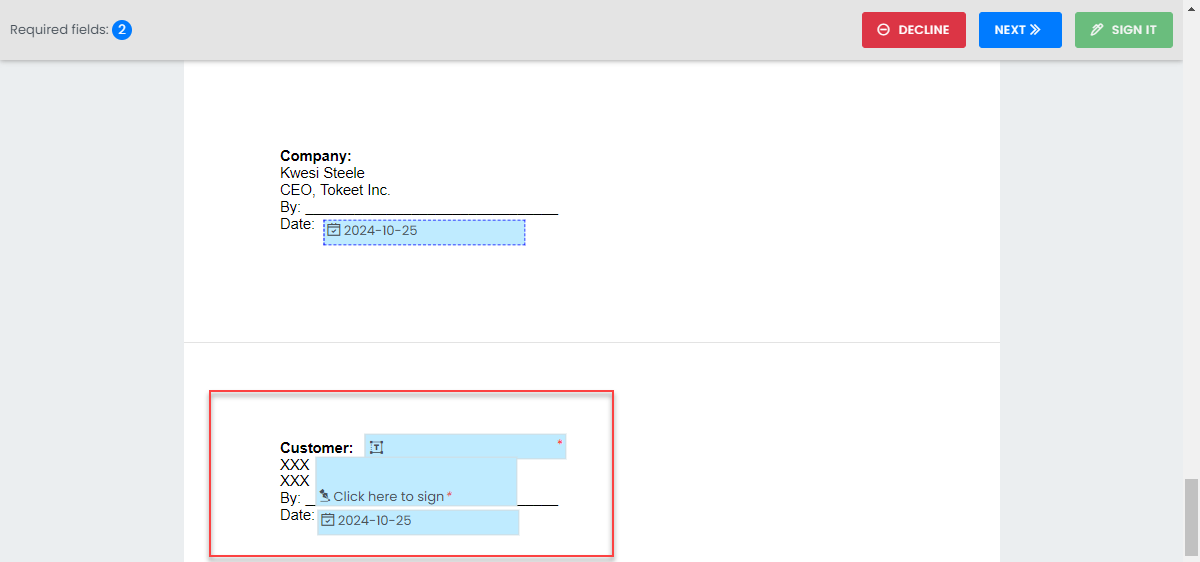
Agreement window will appear with options to make a signature. Click on Customer section, enter signature and then click on SIGN IT green button on right top of screen.
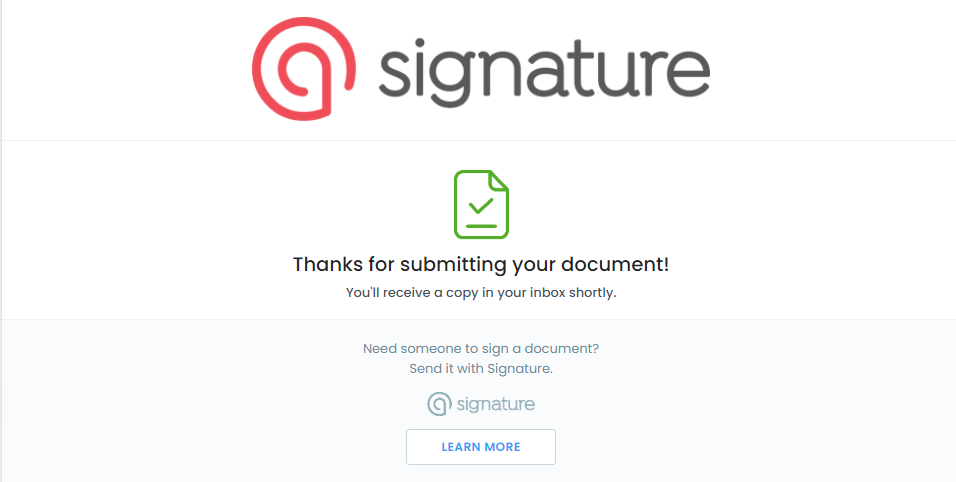
Success message appears which means agreement is signed successfully and now you can connect your device
Now agreement is successfully signed which means you are ready now to sign the agreement. Now click again Add Provider button
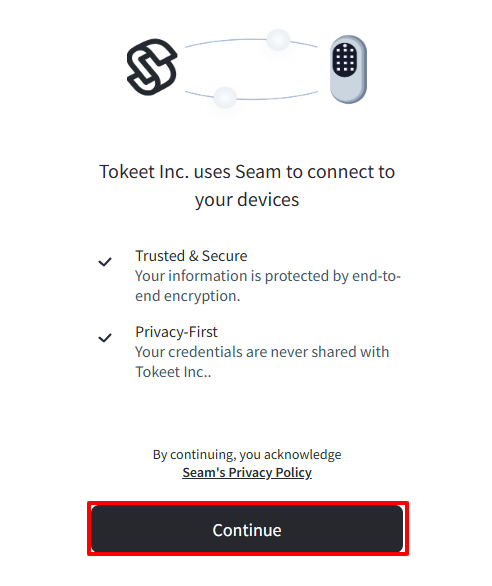
Below screen will appear as popup, Click Continue button
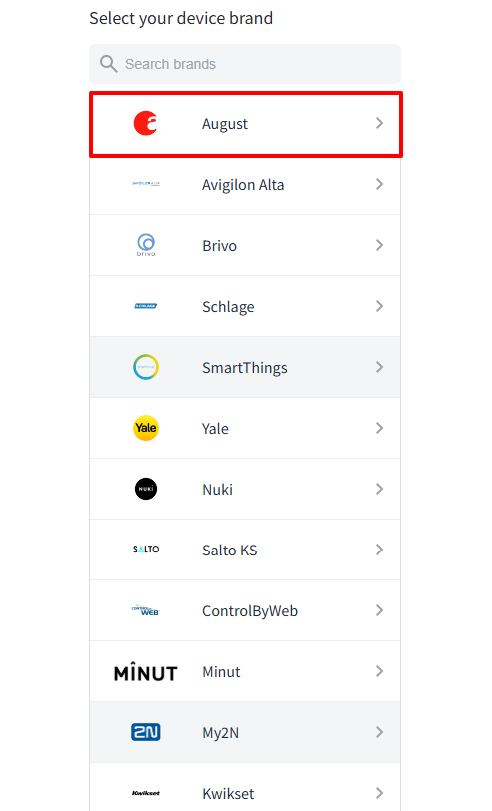
Next screen will appear with list of available devices for configuration, Choose your desired device, In below case We will select “August”
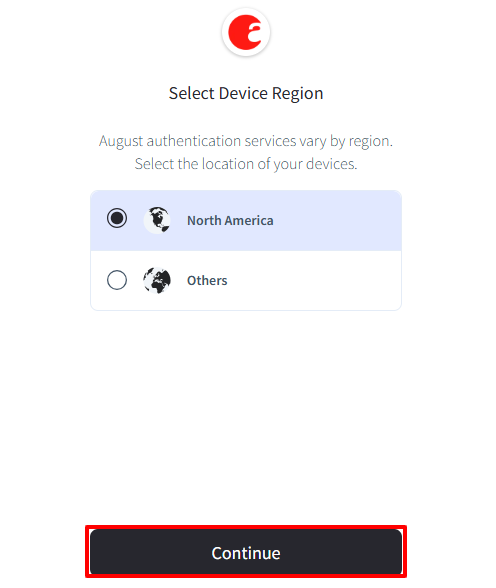
Next screen appears to select Device Region, Choose your desired region and click Continue button
In case of August Device, below screen will appear, Click Agree button
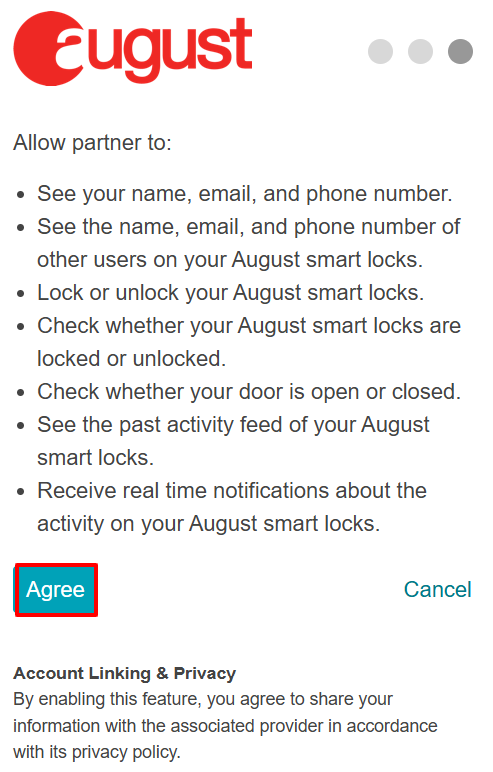
Once “Agree” button is clicked in the above screenshot, success message will appear.

Now you have successfully connected your August device to AdvanceCM. Similarly you can setup your device for any other brand in similar manner.
Your connected devices will be visible in Devices list view as mentioned below:
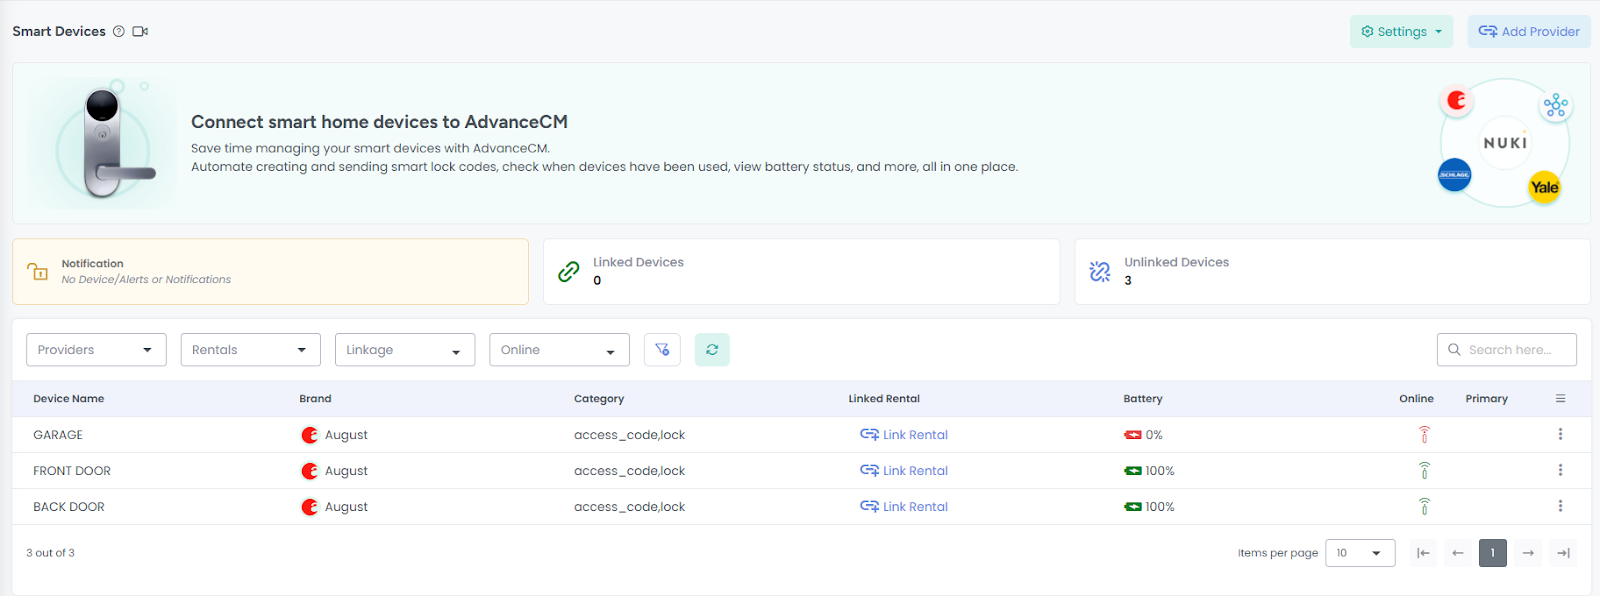
Now next step will be to link it with rental
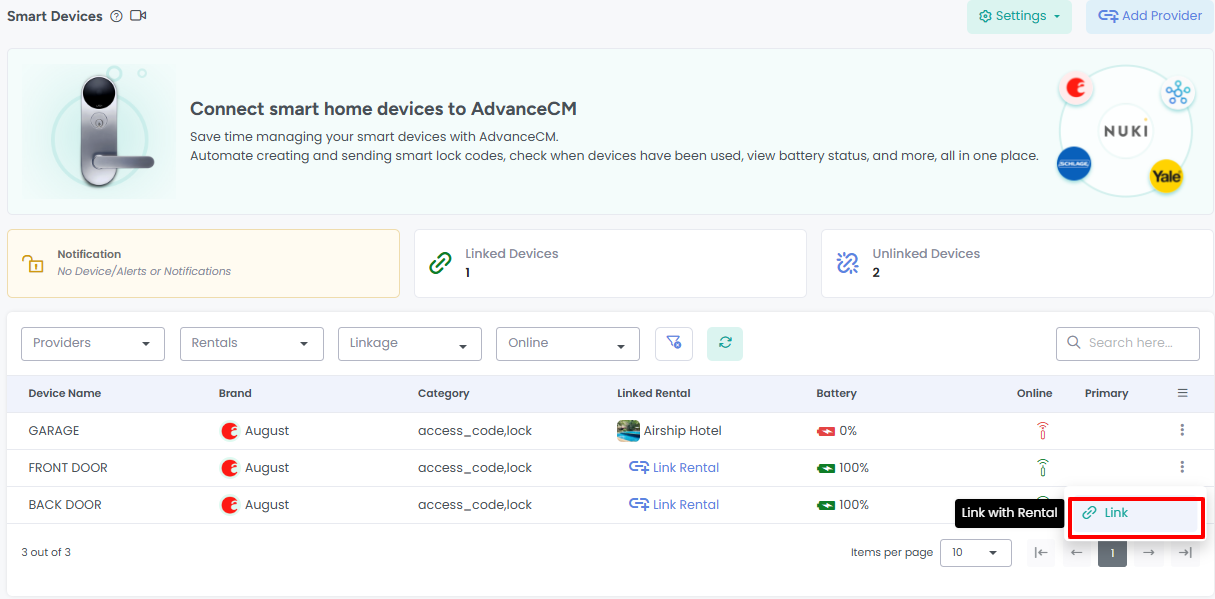
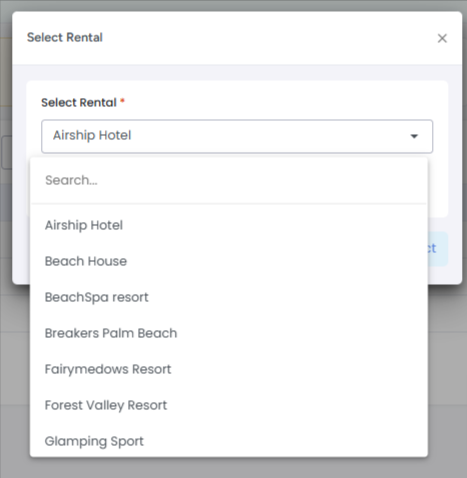
Clicking on Link option will open popup to select Rental name.
Once rental is connected then click “New Access Code” option as mentioned below

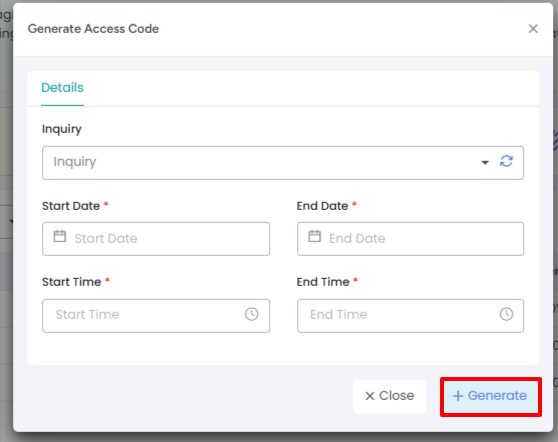
Generate Access Code window will popup. Now put Start and End Date along with Start Time and End Time. (Inquiry is not required field which means you can create Access code without linking inquiry)
Once fill up required fields then click on Generate button
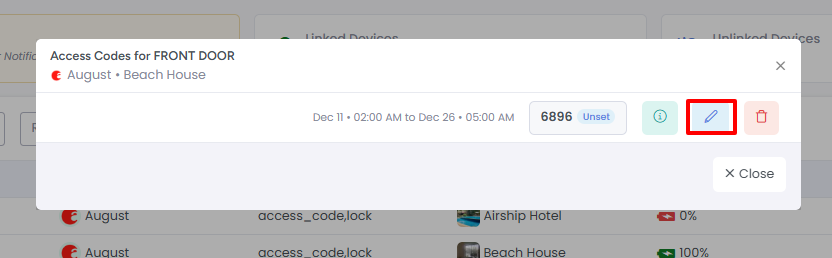
You will get a success message once code is generated successfully. You can access created code by clicking on any row and below popup will appear.
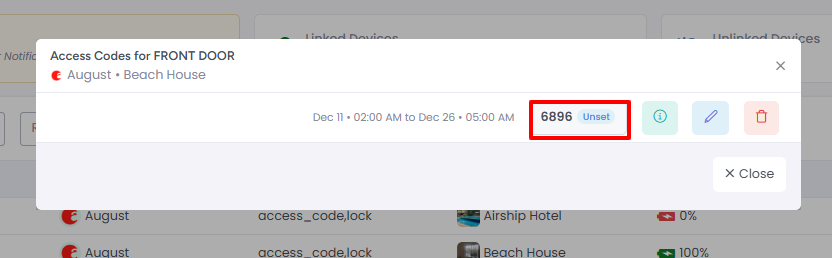
In above screenshot you can see multiple options
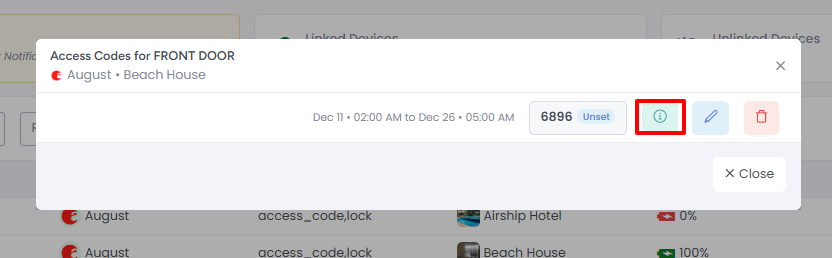
Code Logs
You can see code related logs here, when code was used, if there is any problem with code, log will be updated for all such cases.
Edit Access Code
You can edit access code using below icon and you can edit Inquiry, Start/End date and times.

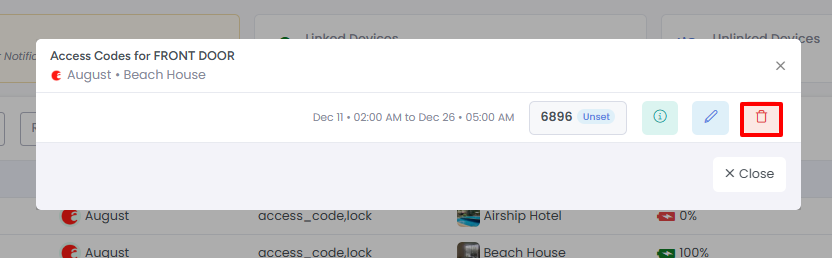
Delete Access Code
You can delete access code using delete icon if code is no more valid or useable.
Search Filters
Using below search filters you can search for devices and rentals related details.

How to unlink a Rental?
You can unlink a rental from a smart device by clicking Unlink option as mentioned in below screenshot:

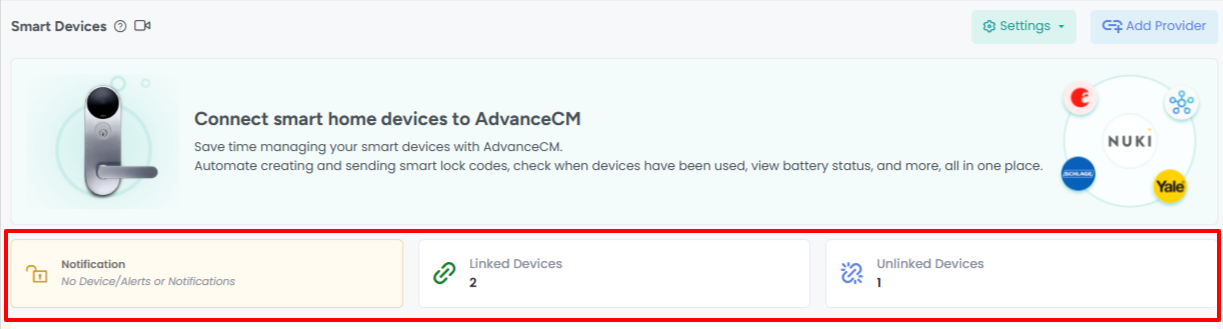
Notifications & Linked/Unlinked Devices
Notifications section shows all hosts related notifications.
Linked Devices section shows which are linked to rentals.
Unlinked Devices shows all those devices which are unlinked from rentals.
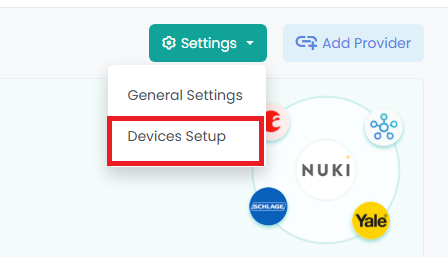
Devices Setup
You can find Device Setup option under Settings drop down
Once click on it, Devices Setup list view will be loaded. This list view shows all the Connected Accounts in your AdvanceCM. The below screenshot shows you are connected to Igloohome, Nuki and Kwikset.

Click on “Connect a Device” button

It will open Overlay to connect Smart Device. For steps to connect smart device please scroll up to Smart Devices List View section
How to Disconnect Devices?
Click on Disconnect option as mentioned below:
