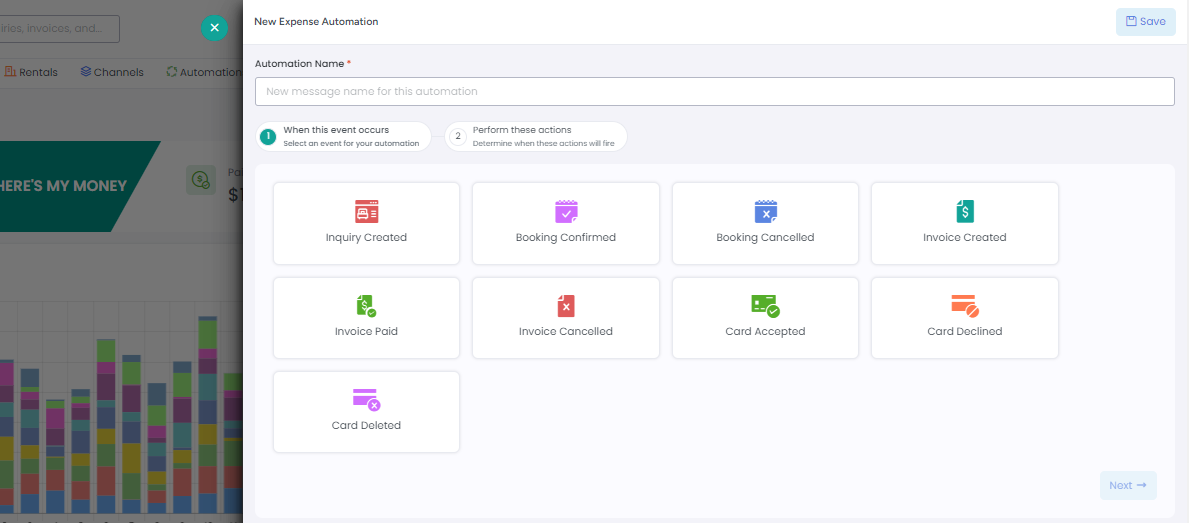
Expenses are AdvanceCM’s way of helping you track any costs that arise over the course of managing your vacation property. This is a great way to stay on top of expenses like maintenance, mortgage/rent, gardening, and more. The process for adding an expense is quick and easy.
Create an Expense
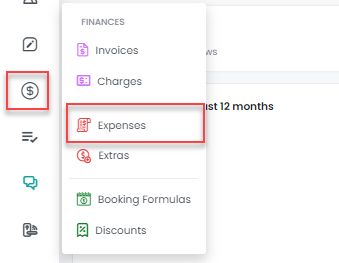
From your AdvanceCM dashboard, select the Finance icon from the left navigation menu then click on Expenses.
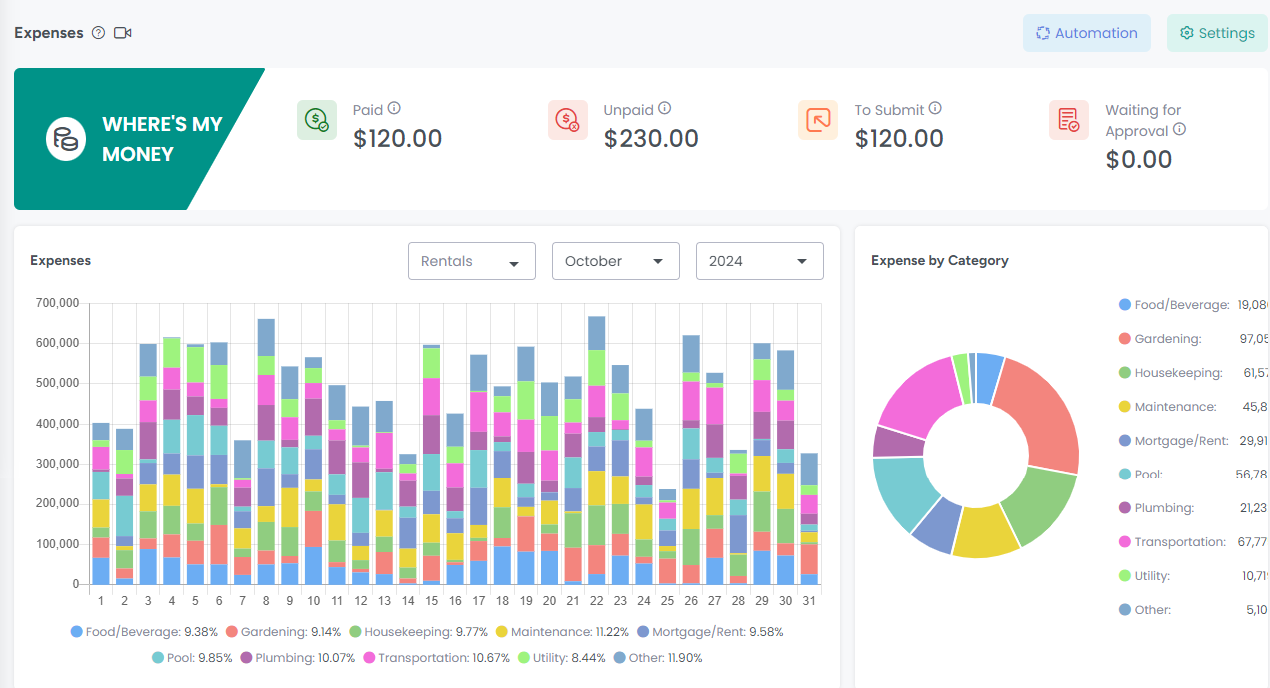
The Expense dashboard will look like the screenshot below with a bar chart and pie chart which are categorized by Expense Categories. You can see the total paid/unpaid expenses along with the “To Submit” & “Waiting for Approval” expenses count on top.
Scroll to the Expense Summary section and click on the + Add Expense button to open the Add Expense overlay

.
Details Tab
You will need to fill in all of the mandatory fields.
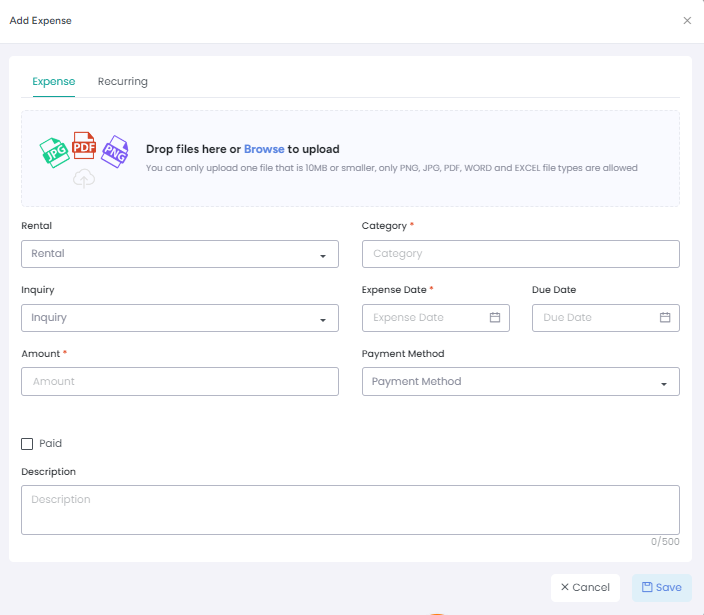
You can upload a copy of a receipt or invoice for the expense, or add notes to the expense description field.
Recurring Tab
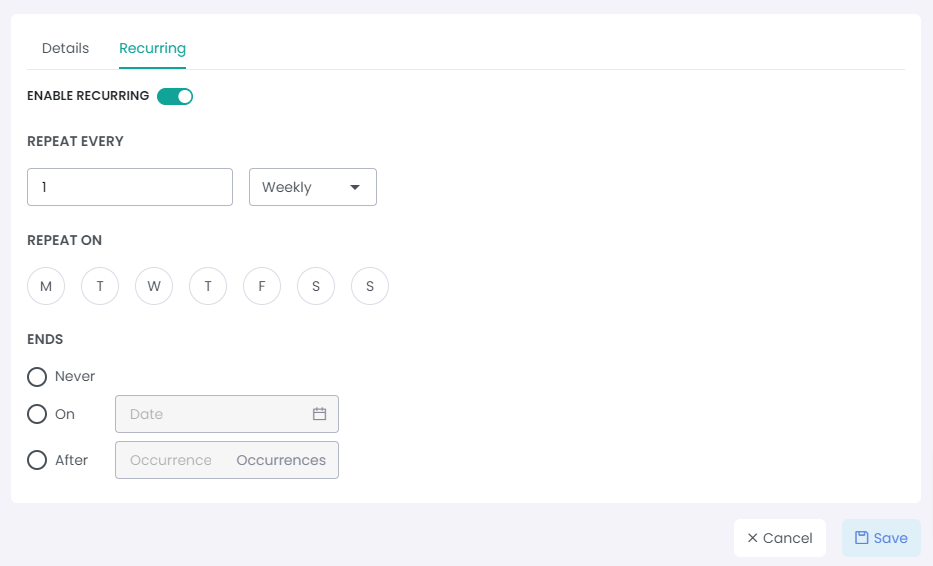
The second tab in the Add Expense overlay is the Recurring tab, where you can set up recurring expenses by selecting specific days and choosing a frequency—daily, weekly, monthly, or yearly. The expense will then be automatically generated based on the recurring settings.
Once you’ve entered all relevant information, click the “Save” button at the bottom right.
Congratulations, you’ve just added an Expense with AdvanceCM!
Expense List View
The Expense List View will show all expenses that were created. You can edit one Expense at a time OR you can Delete in bulk using Action button.

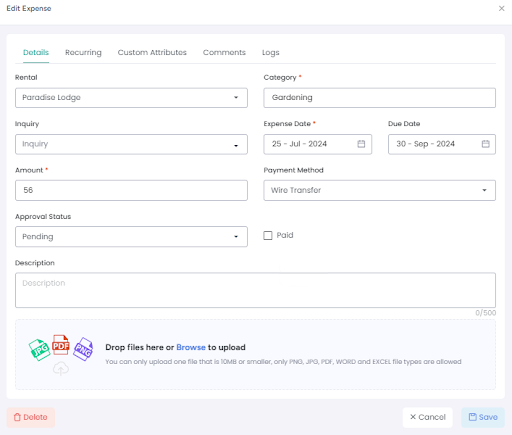
Once you click on any Expense, it opens the Expense Detail Overlay with different tabs.
Details tab
Under the Details tab you can edit basic information for the Expense.
Recurring Tab
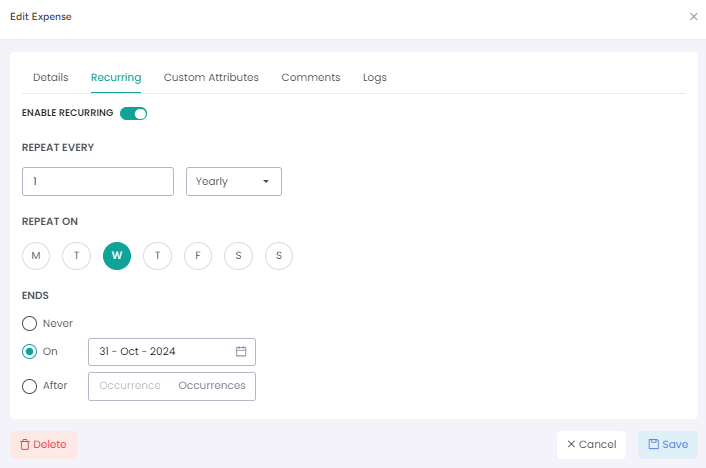
Similarly, the Recurring Tab gives you the option to edit the Recurring settings for the Expense.
Custom Attributes
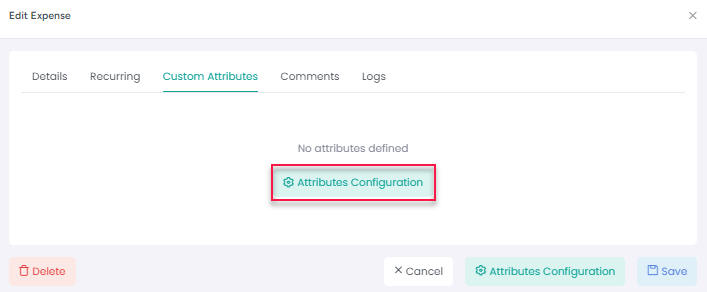
Another tab is the Custom Attributes that allows you to create custom attributes like String, Number, Date etc and these attributes will be used to save any unique information about the Expense that you will like to.
Comments Tab
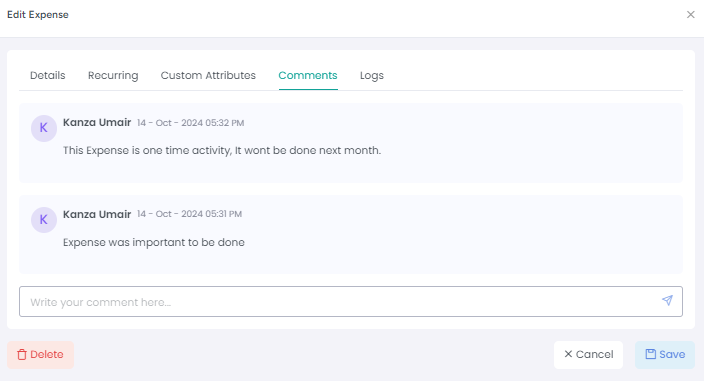
The next tab is the Comments tab where you can store any notes regarding the Expense.
Logs Tab
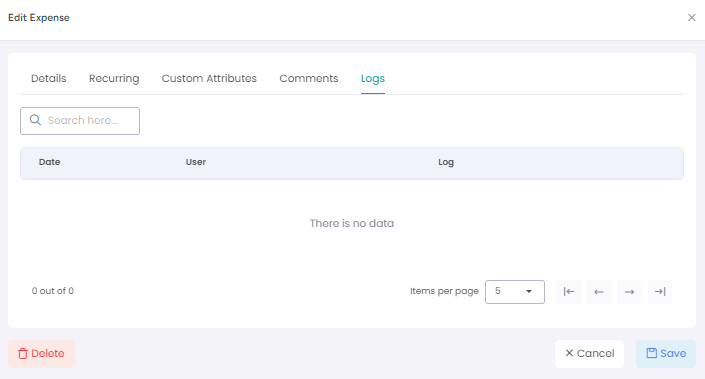
Last is the Logs tab where you can see changes done so far for this Expense. For example Due date was changed or Expense Amount was updated.
Expense Automations
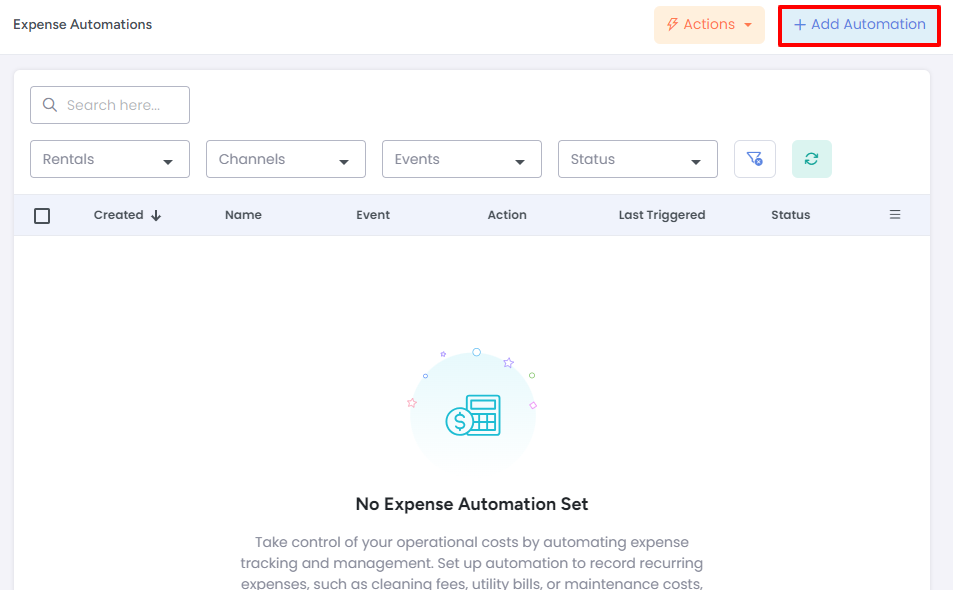
You can add Expense Automations using the Automation button at the top of the Expenses page.

It will open below the overlay allowing you to see the existing automations and to also allow you to create new automations by clicking on the + Add Automation button.
For more information on Expense Automation, please see this article.
