Within your AdvanceCM account, you might wish to add users so that they can have access to your account and handle individual tasks. Additional AdvanceCM users can be specified as having certain duties and responsibilities, or areas of expertise. You can use this feature to give your entire team, from maintenance employees to management individuals, access to your account for editing, viewing or sending messages to guests and potential guests. AdvanceCM makes adding users and updating their information along the way simple and easy.
Adding A New User
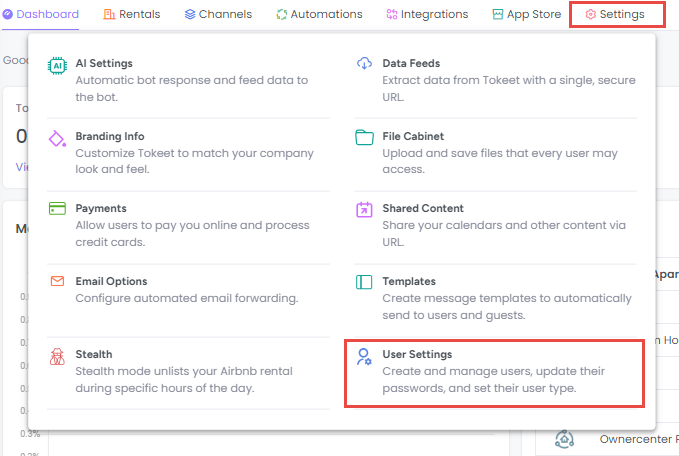
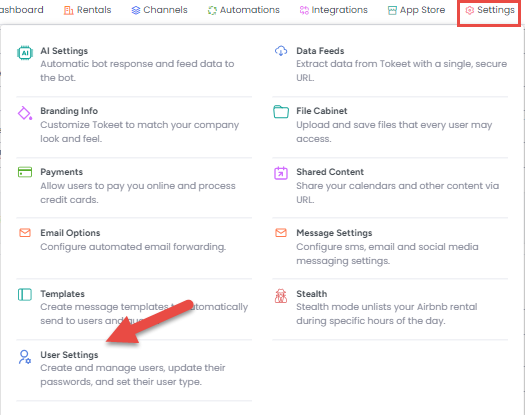
Select "User Settings" under the Settings Menu.
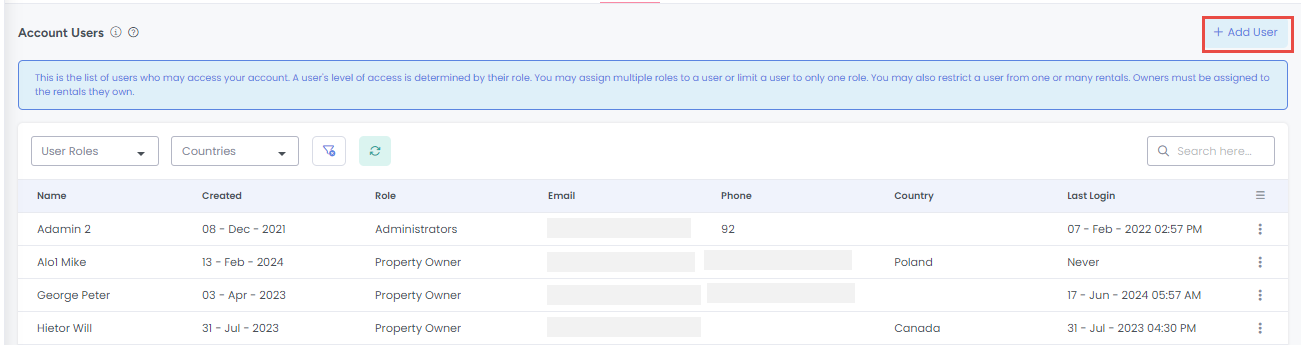
The Account User’s list will allow you to search and filter your list of users and edit their individual profiles.
To add a new user click on the + Add User button at the top right of your user list.
Enter all required info into the ‘Add User’ overlay.
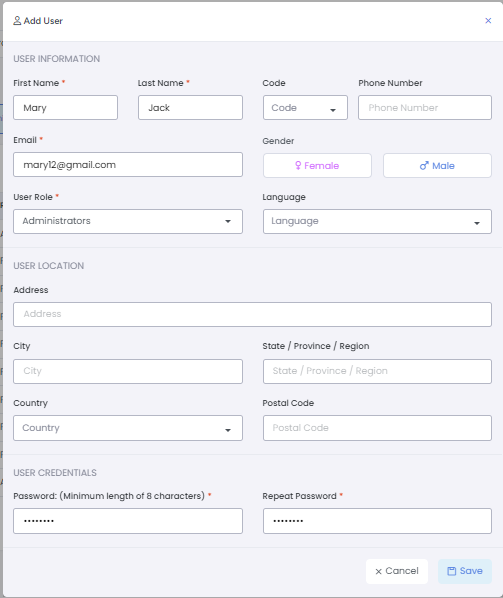 Note: Choosing the appropriate role for your user is a very important step in this process. For more information on user roles and what access is allowed for each, please see the following article: User Type and Permissions Overview
Click “Save”. This new user will now appear in your user list. A verification email will be sent to the email address entered for the user. Once the email has been verified, the user will be able to log in.
Updating User Information
Select "User Settings" under the Settings Menu.

Click on the user whose information you’d like to update.
Enter the updated information into their profile.
Select the “Save” button.
Your updated user information has been saved!
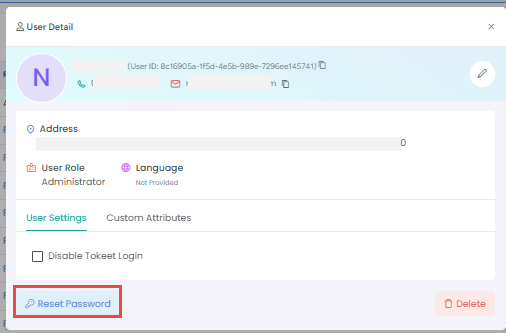
To temporarily disable a user's ability to log in using their profile, select the option "Disable Tokeet Login" option.

If you would like to Reset the user's password select the Reset Password option. This will result in an email going out to their email automatically with instructions for resetting the password.
Now you and your entire team can begin using AdvanceCM to its full capabilities.
Delete User
Any user can be deleted by an administrator from both the List & Detail View.
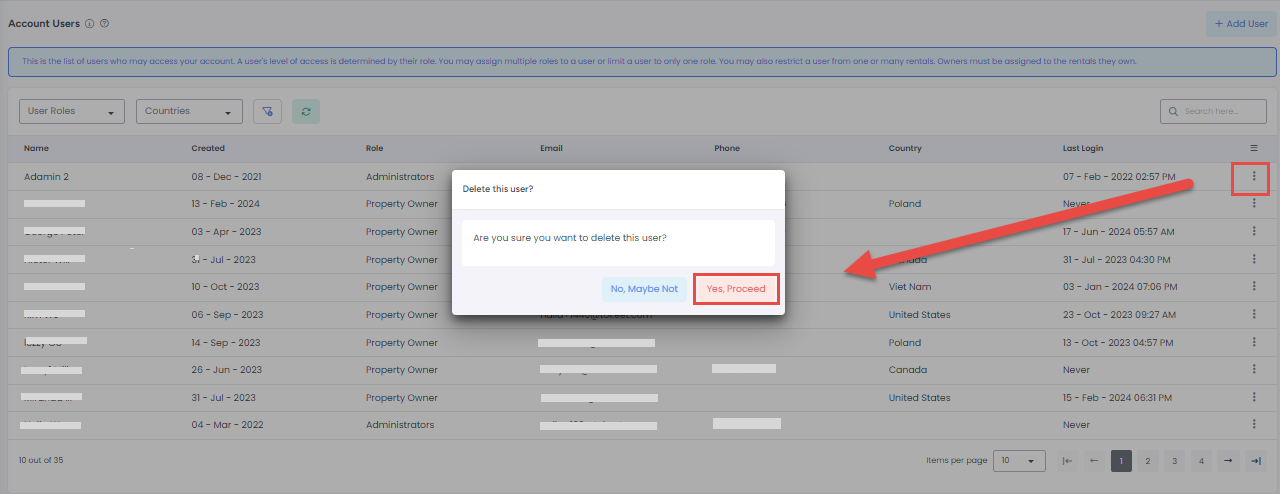
From the List View, simply select the action icon to the right of the user and select “Delete”.
By selecting the “Yes, Proceed” button you will be able to completely remove the user from the account.
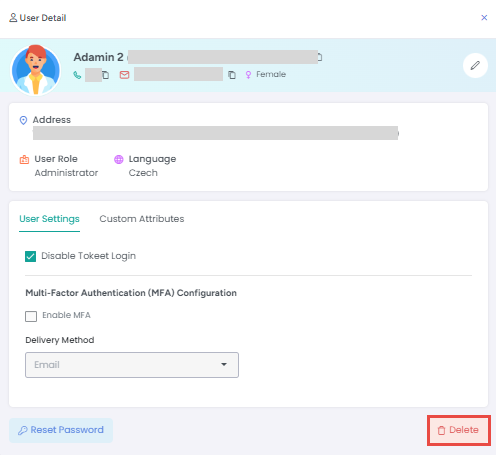
In order to delete the user from the Detail View, simply open any user’s record from the List View and select the Delete button appearing on the bottom right.
By selecting the “Yes, Proceed” button you will be able to completely remove the user from the account.
Reset Password from User’s View
If you’d like to reset your password at any time, you can do so with a quick and simple process from your User’s detail view. Simply follow the directions below:
Click on “Settings” from the top navigation and select “User Settings”.

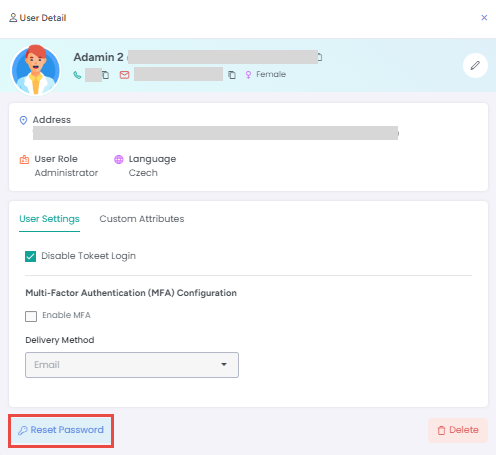
Click on your user profile to open the detail view.

From the detail view click the Reset Password button.
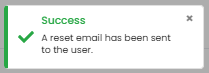
A ‘Success’ message saying a reset email has been sent to the user will be displayed.
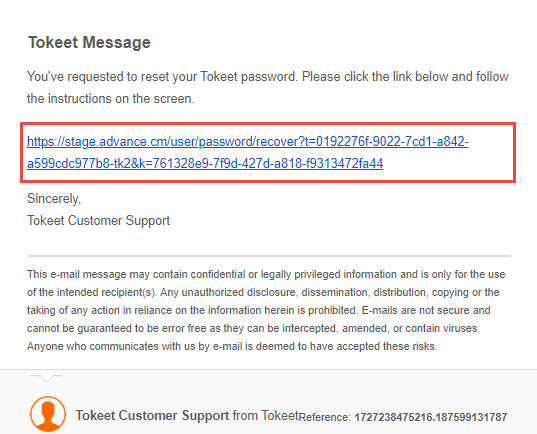
Log into the email address saved for the user and open the Password Reset Request email.
Click on the link to reset the password.
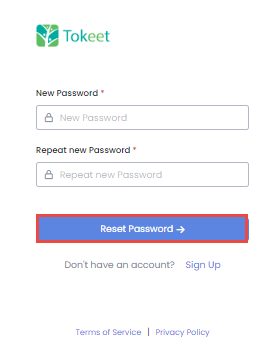
A new window will open with options to reset the password.
Provide a new password and repeat the new password values.
Click the Reset Password button.
If you have forgotten your password you can use the forgot password link available on the login page for AdvanceCM.
Custom Attributes
If you’d like to add custom fields in your account to be used in any module, you can do so with a quick and simple process from your User’s detail view. Simply follow the directions below:
Click on “Settings” from the top navigation and select “User Settings”.
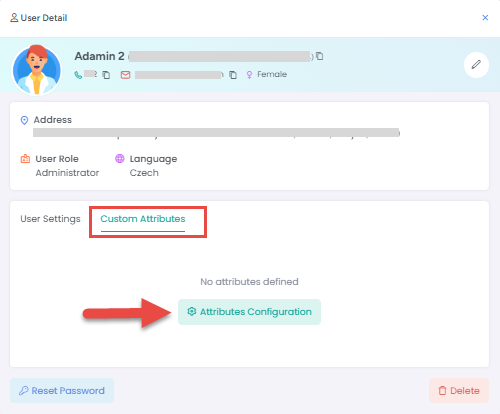
Click on your user profile to open the detail view.

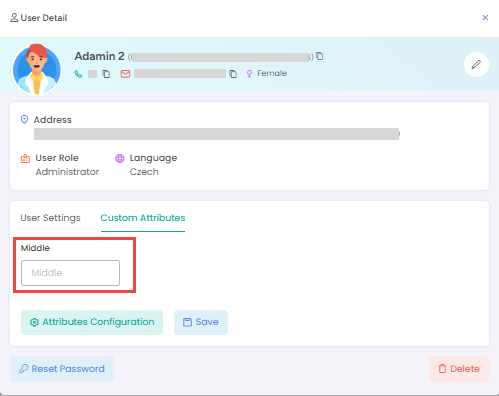
From the detail view click the Custom Attributes tab.
Now select the Attributes Configuration button.
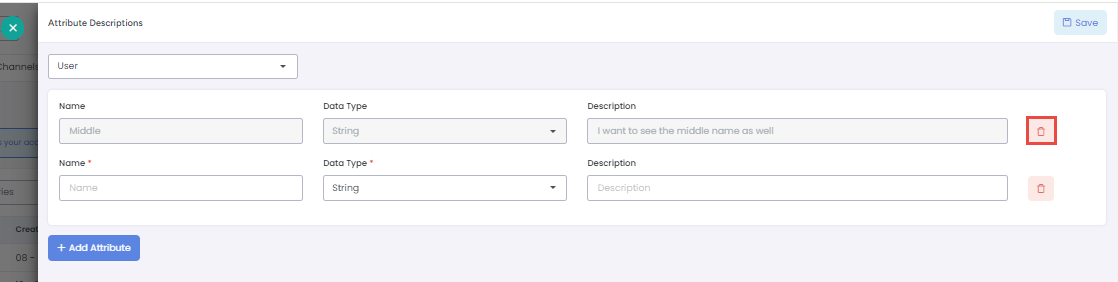
Now enter a Name, select a Data Type and enter a Description for the custom field.
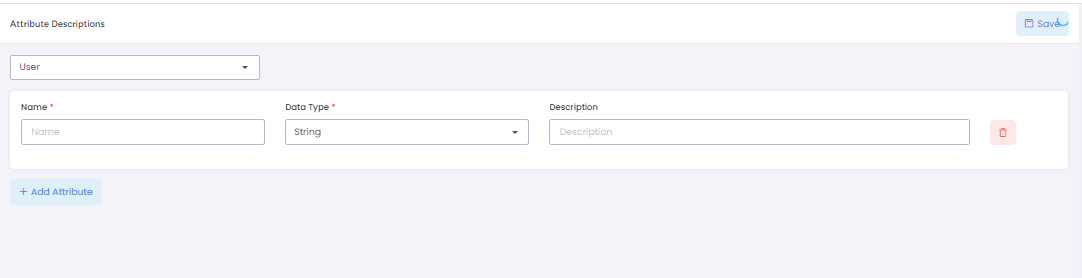
Once you are done, click Save.
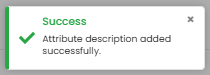
A ‘Success’ message saying the Attribute description was added successfully appears and you will be redirected to the User detail View.
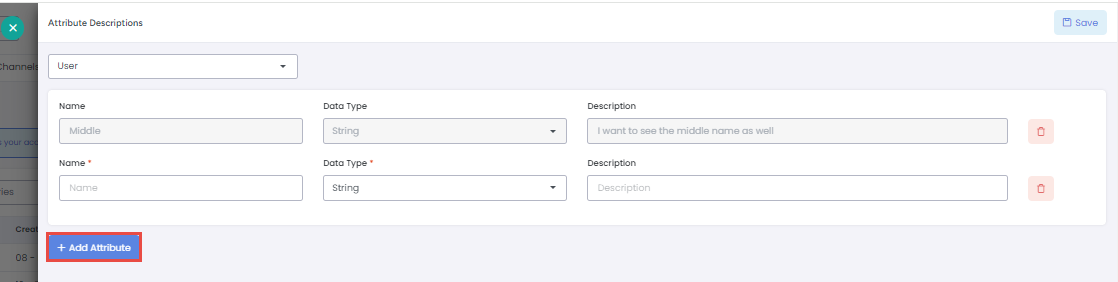
To add more attributes, simply click on the Attributes Configuration button and select +Add Attribute button, then follow the steps above.
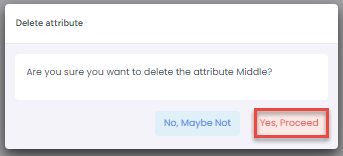
If you want to delete any attribute, simply click on the Attributes Configuration button from the User’s Detail and select the delete icon next to the attribute.
Click on “Yes, Proceed” to confirm the deletion.
A ‘Success’ message saying the Attribute description was deleted successfully will be displayed.

Restricting User Access
AdvanceCM has a number of simple yet powerful ways to control access to data. Each AdvanceCM user account can be assigned to one role which controls the level of access the user has and which sections of the application the user may access. For example, the Housekeeper role cannot access financial data or guest messages. They are also restricted from configuration options. But even within a role you may specify which rentals a user may access.
Here is an example. Let's say you have multiple rentals and different staff for each rental. You now want to add all of your staff to one AdvanceCM account, however you don't want them to have access to each other's rentals. The solution is to restrict users from one rental from seeing the data of another. Here's how.
Click on the Rentals menu at the top of any page to go to your list of Rentals.

Now click on the rental you're interested in restricting.
At the right bar of the rental overlay click on the “User Restrictions” tab.
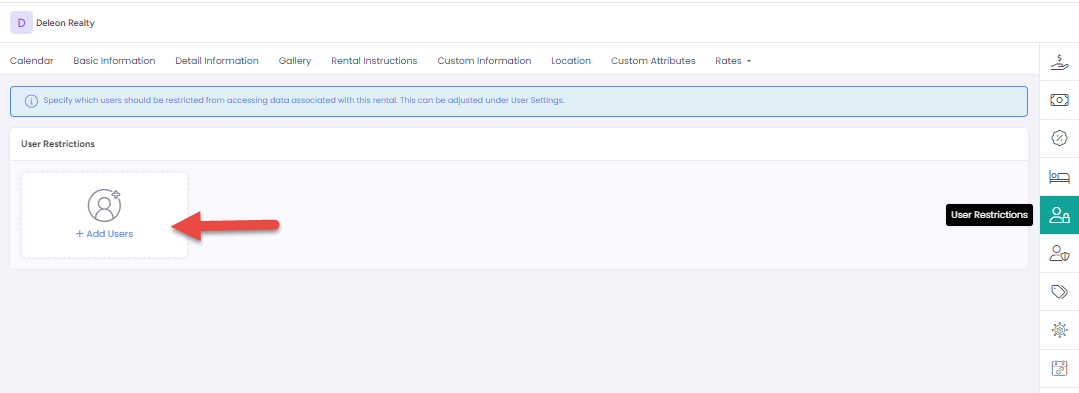
Find and select all users who you wish to restrict from this rental.
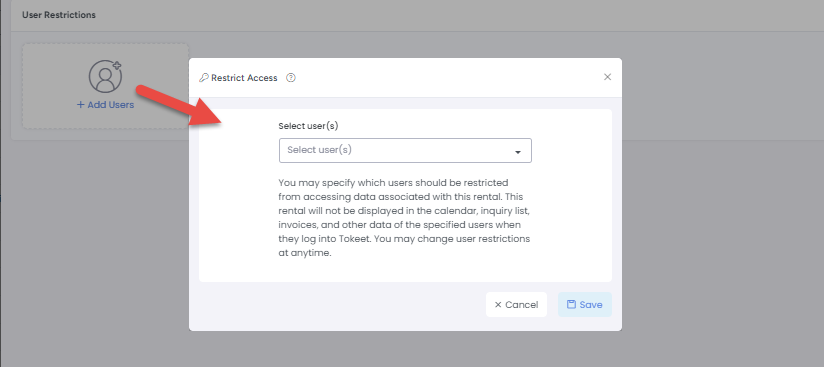
Now, when those users log into AdvanceCM they will no longer see data associated with that rental in any of the sections in AdvanceCM.
Users can also be restricted from viewing rentals by editing their user profile. If you are the Admin user for your account you can do this under Settings > User Settings.