The Expense Settings allows you to set the Expense Approval Workflow.
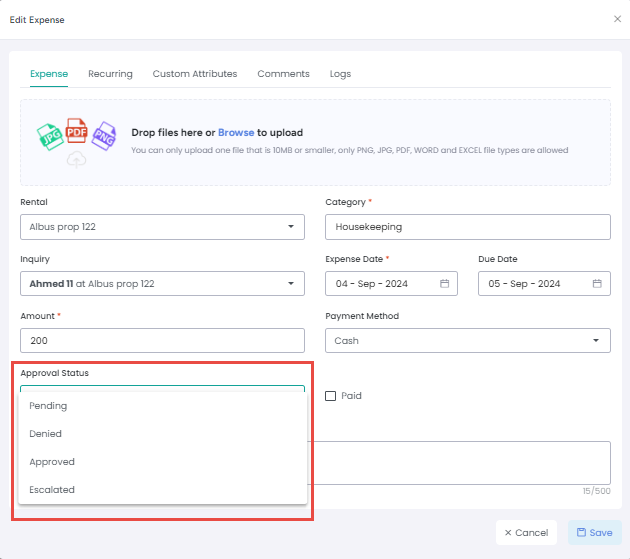
Users will have the ability to require expenses to be approved. Expenses which are not added by an administrator will be pending approval until approved by an expense approver or administrator. This will be reflected in a new attribute called expense status in the expense detail view.
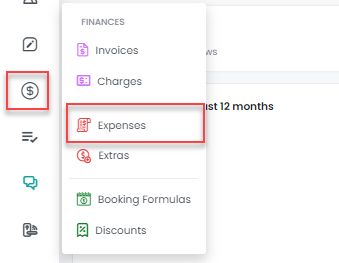
First, navigate to the Expenses List View by clicking on Finances on the left navigation bar then Expenses.

Then, locate the Settings button in the top bar to make update the expenses approval workflow.

All the Admin users are added in the list as allowed users who can approve the expenses. Admin users can add expenses without any amount limits, meaning any expense entered by an admin is automatically marked as approved.

An admin can add users in other roles as expense approvers under User Settings by selecting the +Add User option.
The admin must also assign a maximum approval limit to the added user, specifying the highest expense amount they are allowed to approve.

When an Expense Approver logs into the system, they will need to manually open the expense and update its status.
