Inquiries are AdvanceCM’s way of helping you track any time a potential guest makes a request into your vacation property. This is a great way to stay on top of communication between you and your potential guests which will create more bookings.
The Inquiries List View in AdvanceCM serves as a central location to manage all booking inquiries. This section allows you to view, filter, and organize inquiries received from various channels. You can review inquiry details, respond to potential guests, and track the status of each inquiry efficiently. The Inquiries List View streamlines the booking process, helping you manage guest communication and convert inquiries into confirmed reservations with ease.
Inquiry List View:
From your AdvanceCM dashboard, select the Inquiries icon from the menu on the left-hand side of the screen.
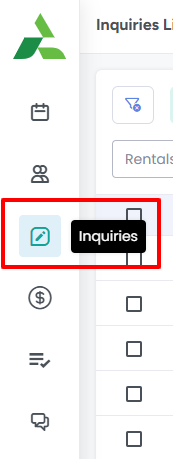
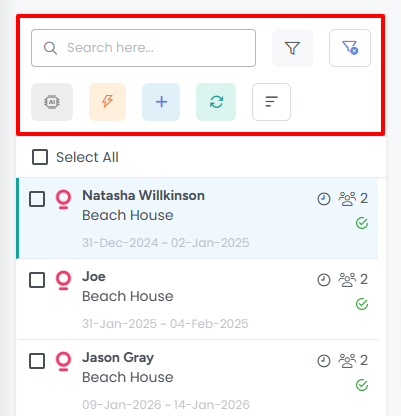
This will bring you to your Inquiries page. The options above the list on the left section will allow you to filter your inquiries based on your selections or delete the selected inquiries:
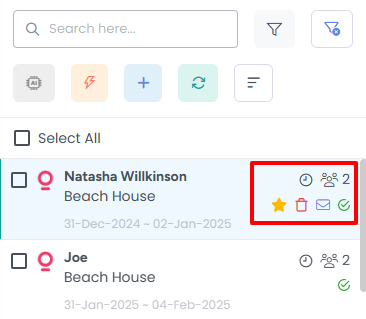
You will also be allowed to view the guest count, mark the inquiry as favorite, delete it, send a message or mark the inquiry as confirmed using these icons below.
Inquiry Create View:
On the top left corner of this page, you’ll see a “+” icon. Select this button.
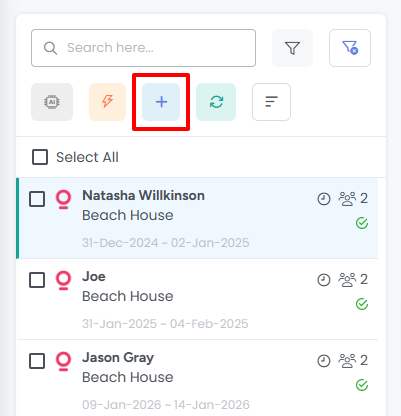
This will open the “Create Inquiry” dialogue box. Here you can enter guest details, date details, anticipated charges, and any discounts or additional fees.
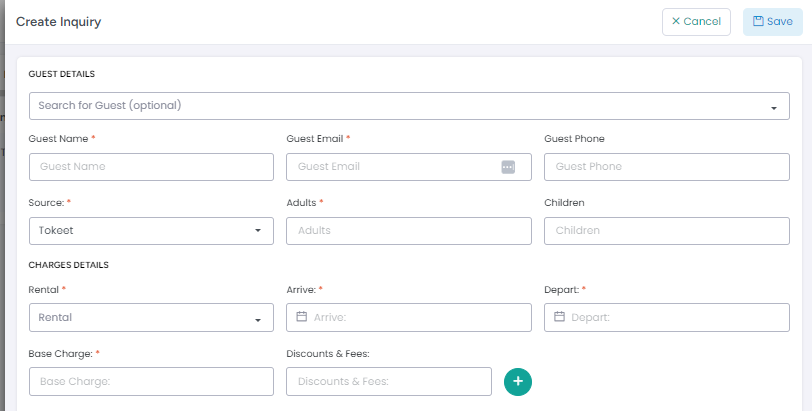
Once you’ve entered all the relevant information, click the “Save” button at the top right of the dialogue box.
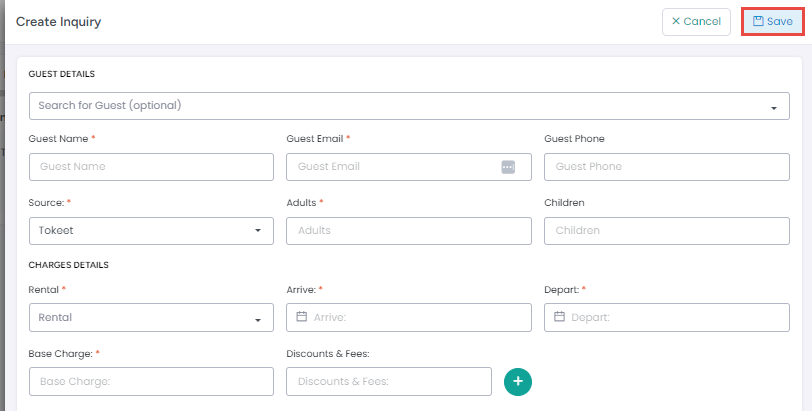
Congratulations, you’ve just created an inquiry with AdvanceCM. You will then be redirected to the Inquiry List View page.
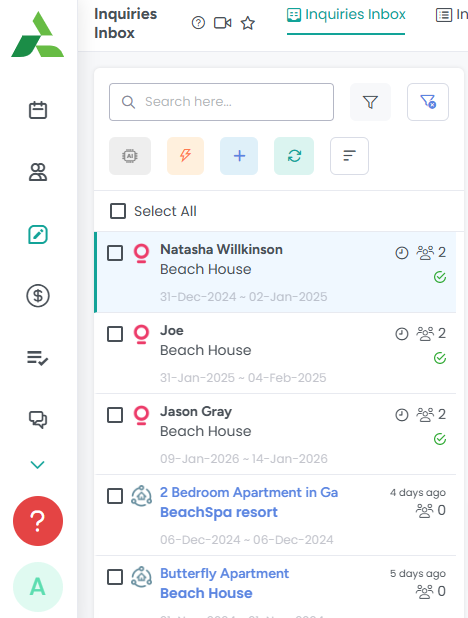
Inquiry Detail View:
By default the record view of every first Inquiry is displayed.
You will be allowed to add information on the following tabs, or the already added data against related booking will appear automatically in the tabs:
Messages
Invoices
Flights
Notes
Activity
Other Bookings
Checklist Notes
Contracts
Attributes
All the information related to the opened inquiry will be displayed on the right panel under different sections, where you will be allowed to update the information directly from these sections of the panel.
Booking Detail
Booking Charges
Occupied Dates
Related Invoices
Notes
Inquiry Deletion:
On the inquiries page, select the inquiry you wish to delete.
On the inquiry details overlay click the orange “Action” button.
Select “Delete” from the drop down menu that appears.
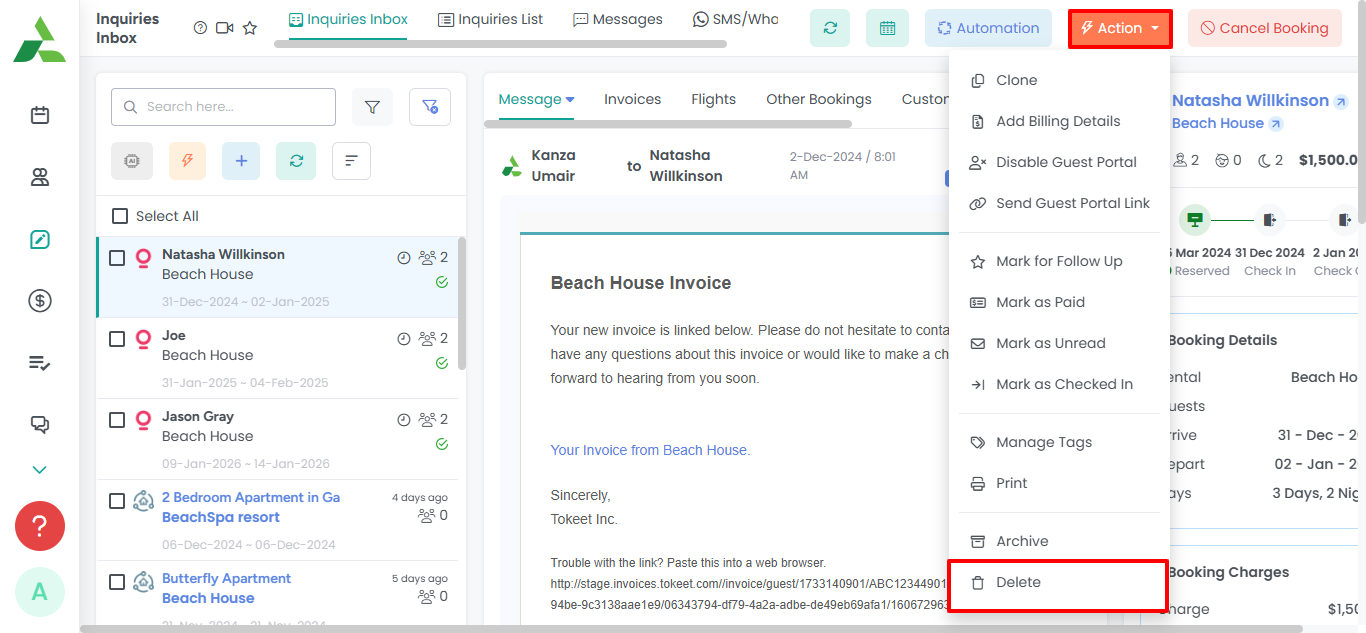
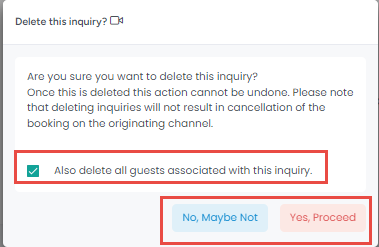
A Delete pop-Up will open up which will ask if you’re sure you want to delete the inquiry. It will also feature a box that can be checked if you would like to delete the guest’s information from all of your AdvanceCM files. Un-check this box if you would like to retain the guest's contact information in your AdvanceCM Guest List.
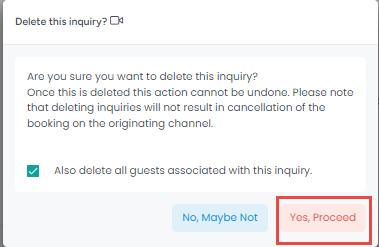
Select “Yes, Proceed” to delete the inquiry.
Deleting inquiries is an effective way to keep your digital workspace and calendar uncluttered so that you can stay on top of current and relevant guest inquiries.
By deleting inquiries that have been withdrawn or canceled, you can be more clear on available dates and serve your potential guests more effectively moving forward.