Expense Automation streamlines managing, tracking, and creating expenses by setting triggers based on specific events to automatically create expenses when those events happen.
Example: If a Booking is confirmed then an Expense will be created automatically to do maintenance of the Garden or Pool to facilitate guests.
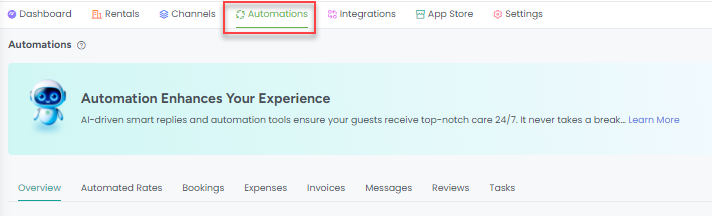
How to access Expense Automations?
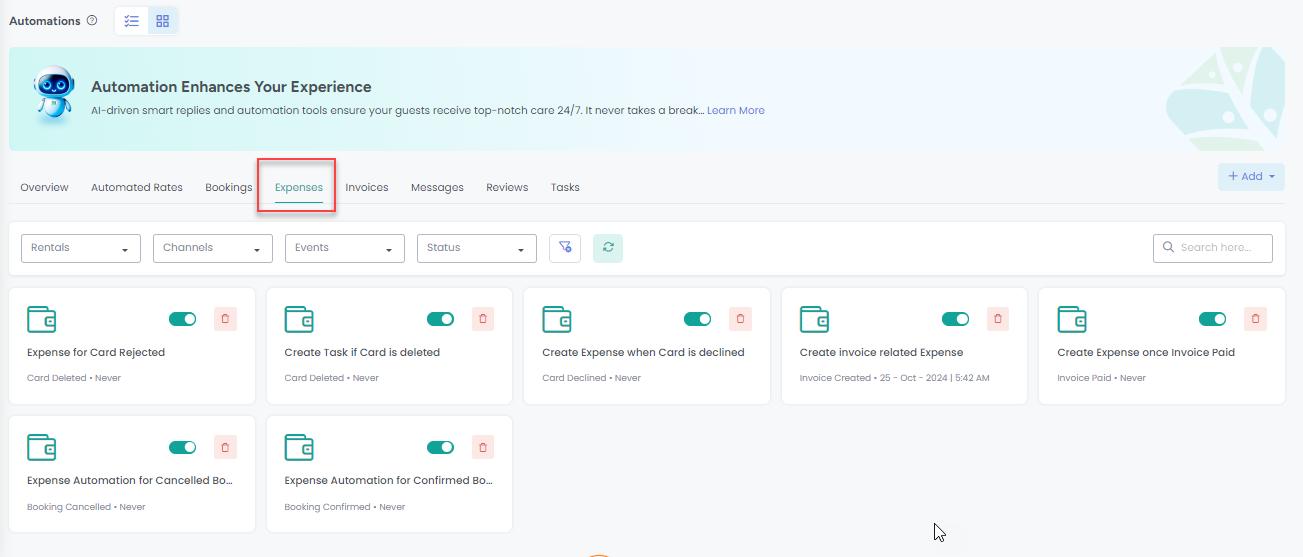
First, access the Automations module from top menu bar.
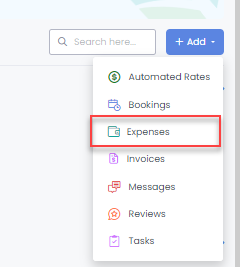
Then click on the + Add button on the right then choose the Expense option.
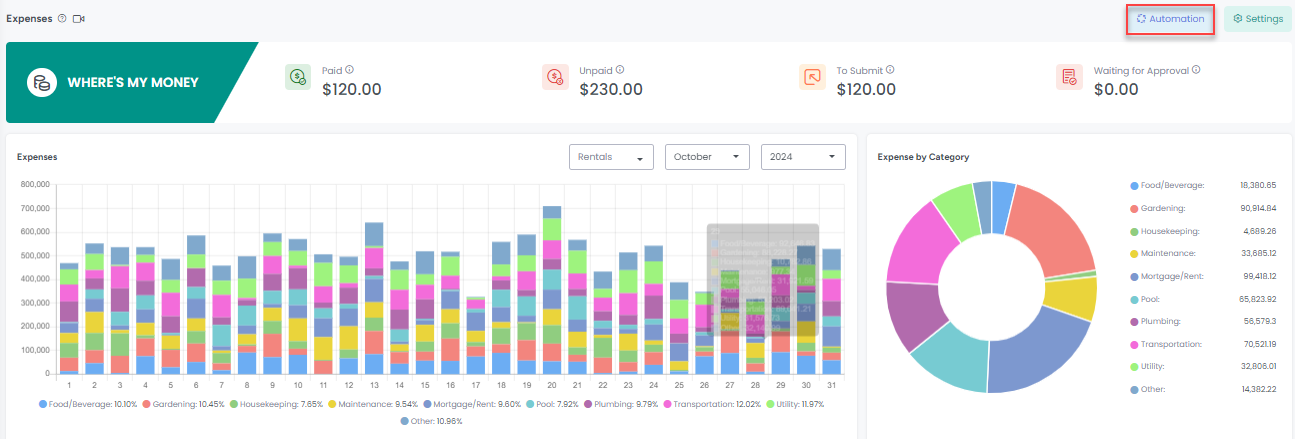
You can also access Expense Automations from the Expense List View by clicking on the Automation button. It will open an overlay showing the Expense Automations, along with the option to create a new Expense Automation.
Create an Expense Automation
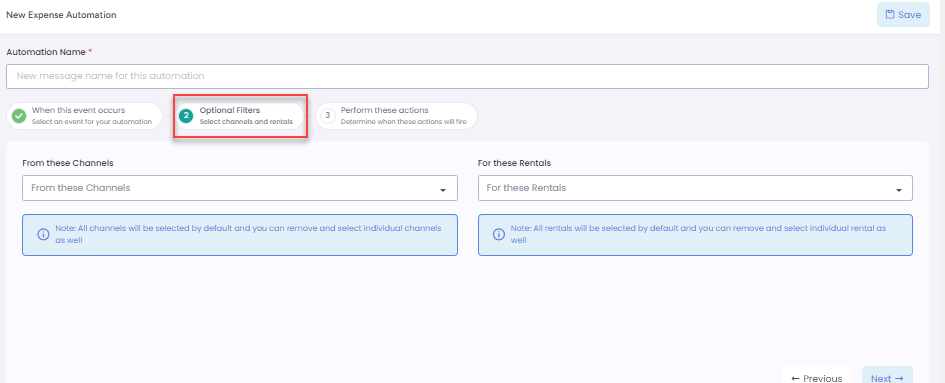
After clicking to add a new Expense Automation, a step-by-step overlay will appear to guide you through the options. The first step is to select an Event that will trigger the Expense Automation when it occurs.
In the screenshot below, you can choose different events as mentioned below:
Inquiry Created: This event means create Expense when inquiry is created.
Booking Confirmed: This event means create Expense when booking status is marked as paid.
Booking Cancelled: This event means create Expense when booking status is marked as cancelled.
Invoice Created: This event means create Expense when invoice is created.
Invoice Paid: This event means create Expense when invoice status is marked as paid.
Invoice Cancelled: This event means create Expense when invoice status is marked as cancelled.
Card Accept: This event means create Expense when linked credit card is accepted.
Card Declined: This event means create Expense when linked credit card is declined for payment capture.
Card Deleted: This event means create Expense when linked credit card is deleted.

The second step will be to choose Channels or Rentals that you want this automation to be used for, if you choose none then by default it will be applied to all channels and rentals.
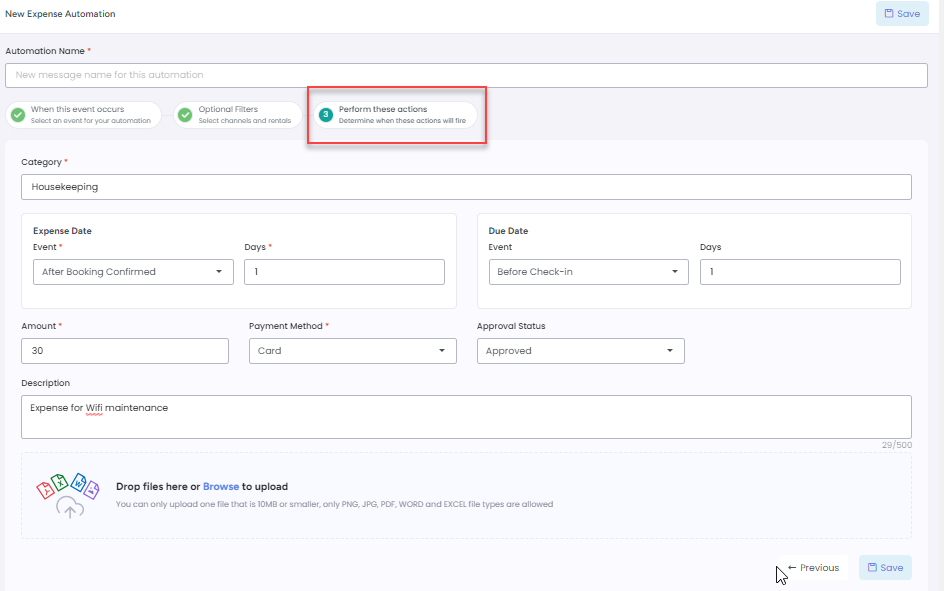
The third step is to enter the details of the Action that will be executed for the booking when the trigger is activated. Select the Category, Expense Date, Due Date, and Amount that will be used to create the expense when the trigger event occurs. You can also attach an image of the expense.
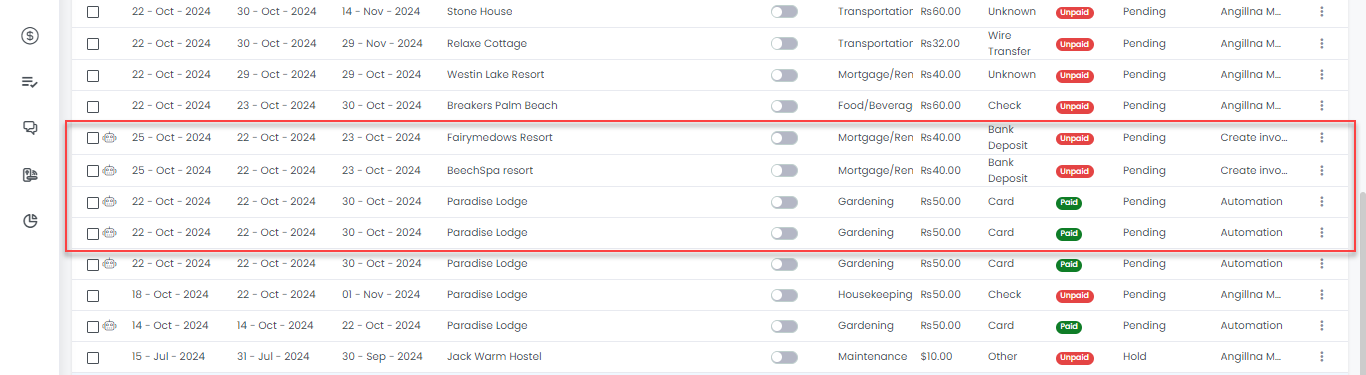
The Expense Automation will be created and will look like the screenshot below.
Once an expense automation is triggered, an automated Expense will be created in the Expense module. You can see the automation icon in front of the expense which is created automatically.
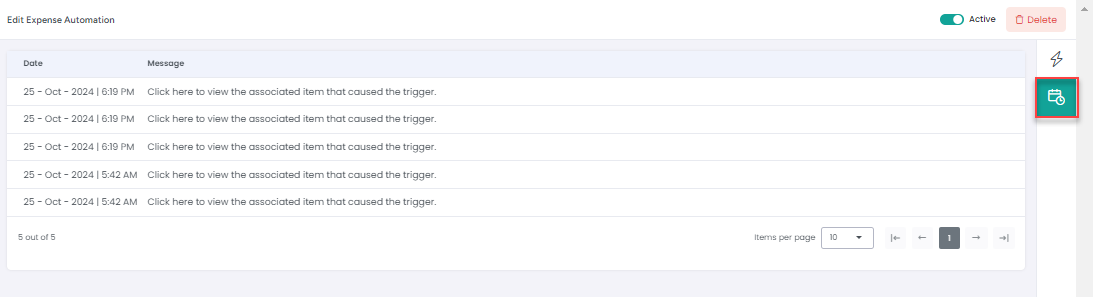
Expense Activity Log
Open any Expense Automation to view the Activity Log tab, showing when the automation is triggered and which expense is created.
Delete Expense Automations using the icon below.
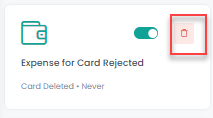
Enable/Disable Expense Automation using the toggle below.
