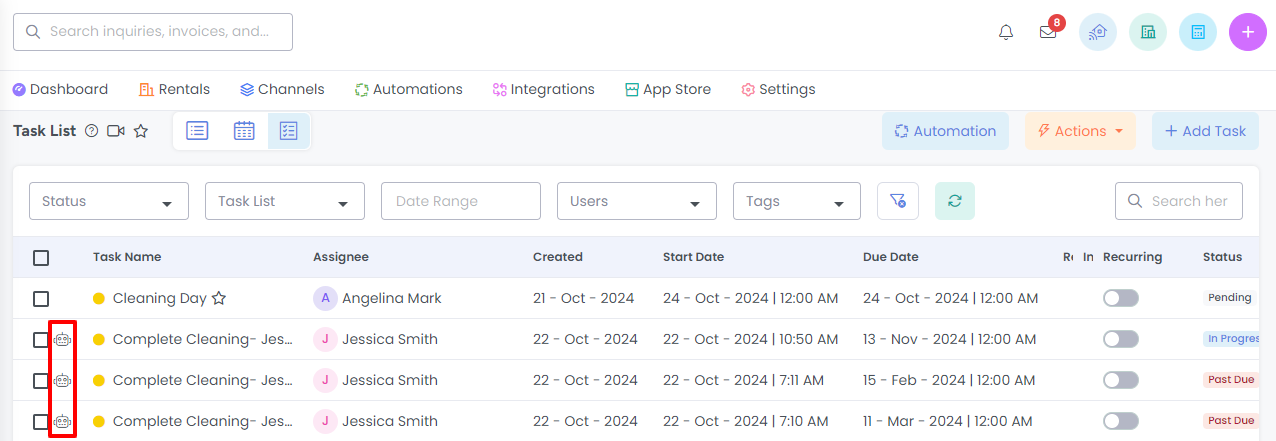
The Task List View in AdvanceCM provides a comprehensive overview of all tasks assigned to you or your team. It allows you to filter, sort, and organize tasks based on their status, user, or due date and you can also create new tasks or add task automations. This feature helps streamline task management, ensuring efficient workflows and timely completion of responsibilities.
Accessing the Task List View
From your AdvanceCM left navigation bar, click on the Operations tab, then click on Tasks.
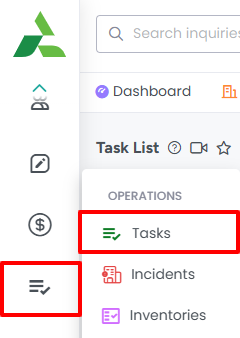
There are three different tabs at the top of the Tasks page. Click on the Tasks List View icon.

Create a Task
Click on the Create Task button in the Task List View and It will open the Create Task overlay as shown below:
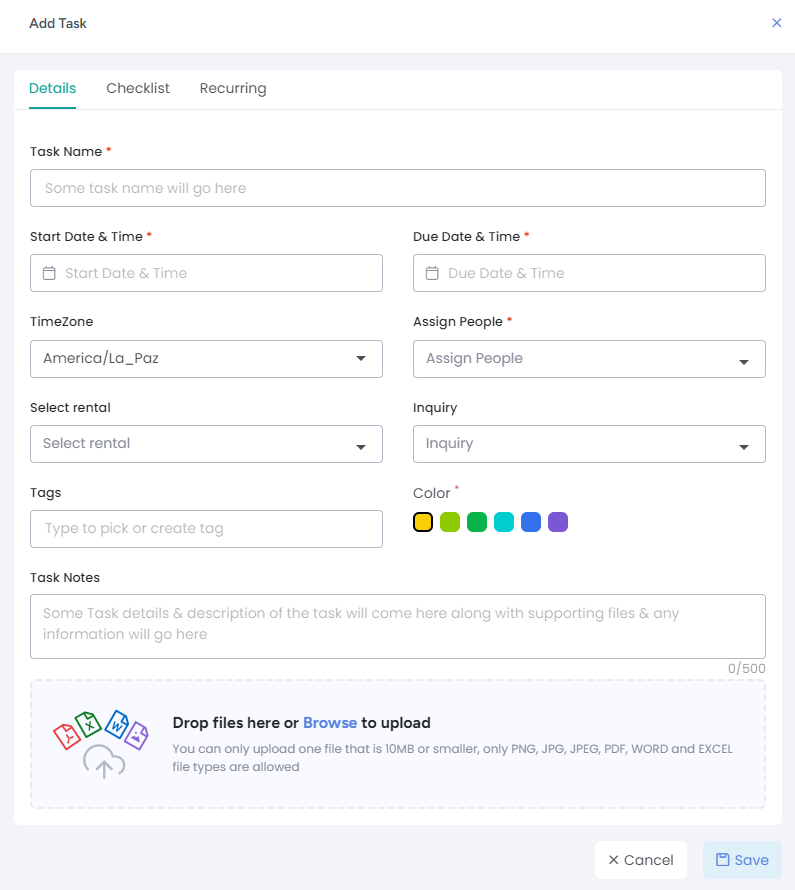
There are 3 tabs available when adding a task - Detail, Checklist and Recurring.
Details tab
You will need to select a Task Name along with Start and End Date & Times, then select an AdvanceCM user(s) under the Assign People dropdown list - these are the required fields, without these fields tasks will not be created.
There are optional fields that can be used as well to set the timezone, select an inquiry or rental for the task or to add tags, notes or documents to the task. You can also assign a specific colour to the task.
Checklist tab
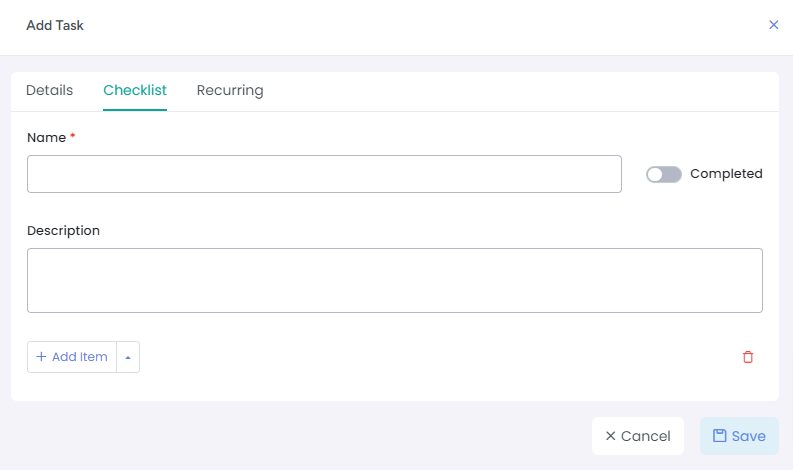
Here you can add multiple checklists to the tasks. There is also the option to mark them as completed.
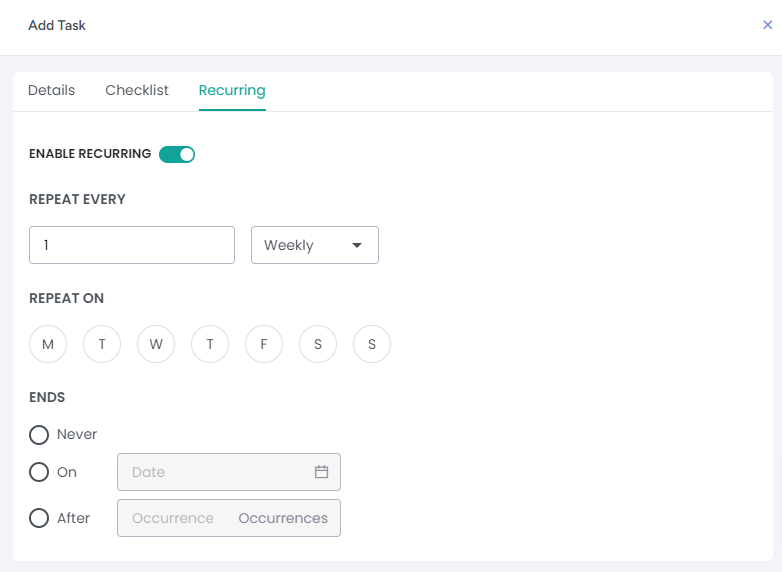
Recurring tab
On the Recurring tab, you can set up a repeating task by selecting specific days and choosing how often it should repeat—daily, weekly, monthly, or yearly and if you would like it to end at a particular time. The task will then be automatically created based on the settings you choose.
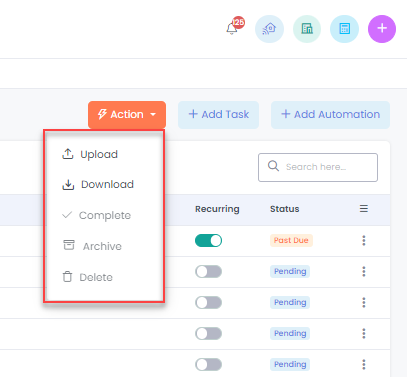
Action button
On the Task List View, the Action button gives you the option to bulk delete, download or upload tasks thus saving your time and also gives you the option to change the task status.
Search filters
You can use multiple search options to search for tasks in the Tasks List View.

Edit Tasks
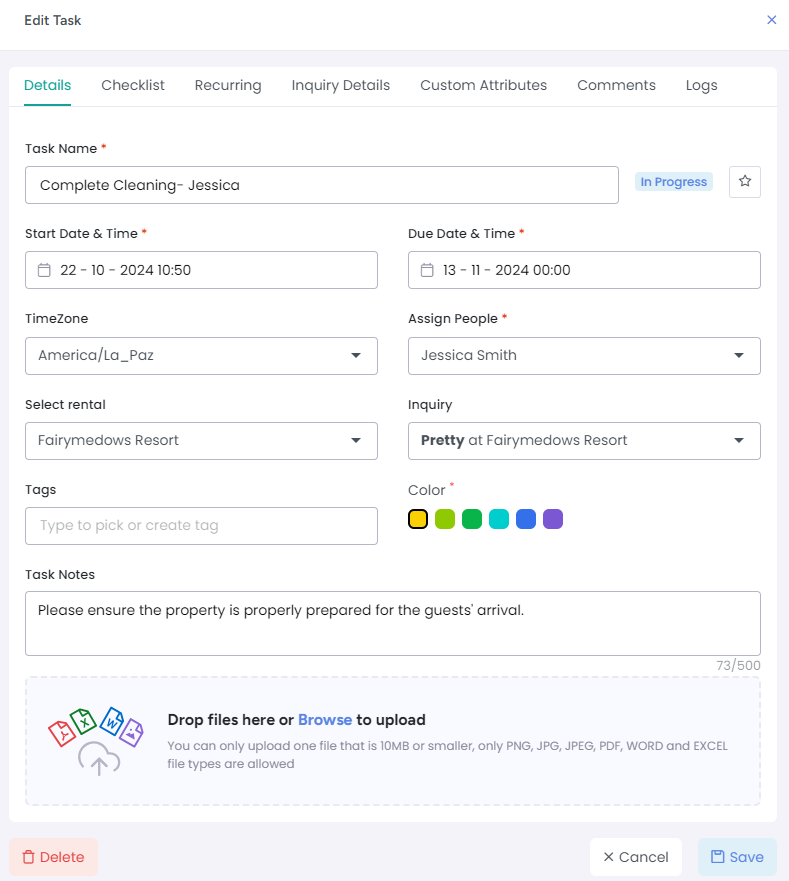
Once you open any created Task, it opens the Task Detail overlay with various tabs.
Details tab
This tab shows you some basic information about tasks that you can update at any time.
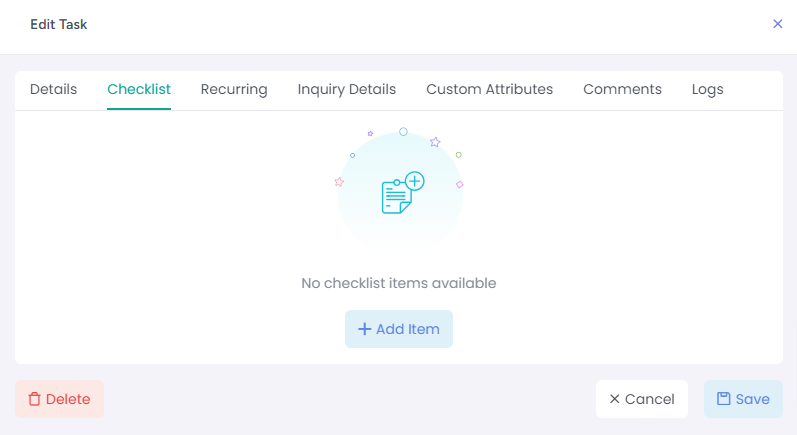
Checklist tab
Here you can add multiple checklists to the tasks.
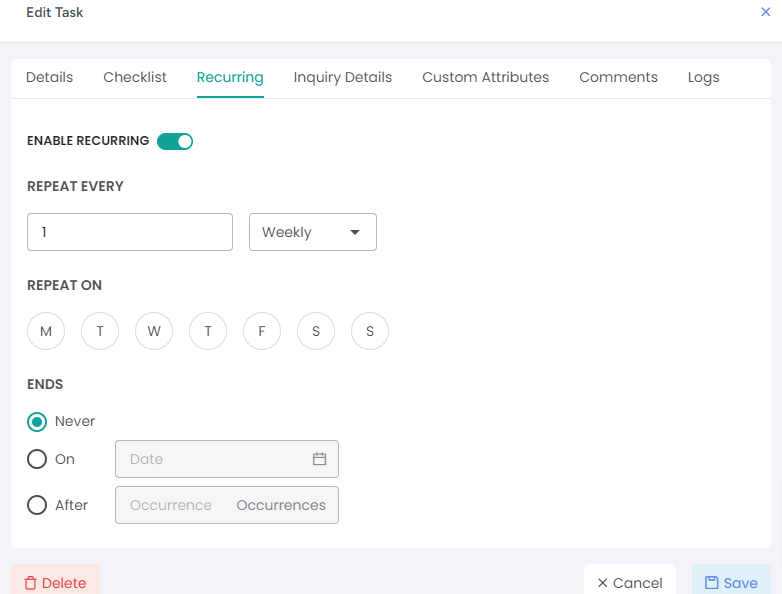
Recurring Tab
In the Recurring tab, you can set up a repeating task by selecting how often it should repeat—daily, weekly, monthly, or yearly, adding specific days and setting if you would like it to end at a particular time. The task will then be automatically created based on the settings you choose.
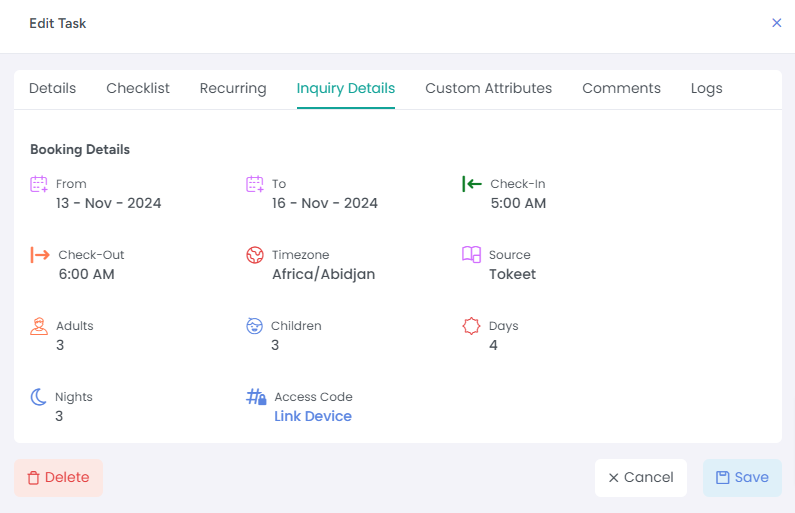
Inquiry Details Tab
This tab is populated if an inquiry is selected during the creation of the task. It will show the information for the inquiry that is linked to the task.
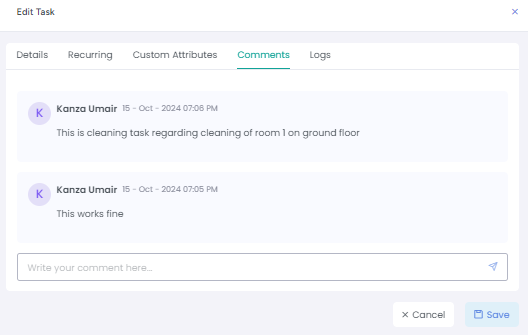
Comments Tab
The next tab is the Comments tab where you can store notes regarding the Task.
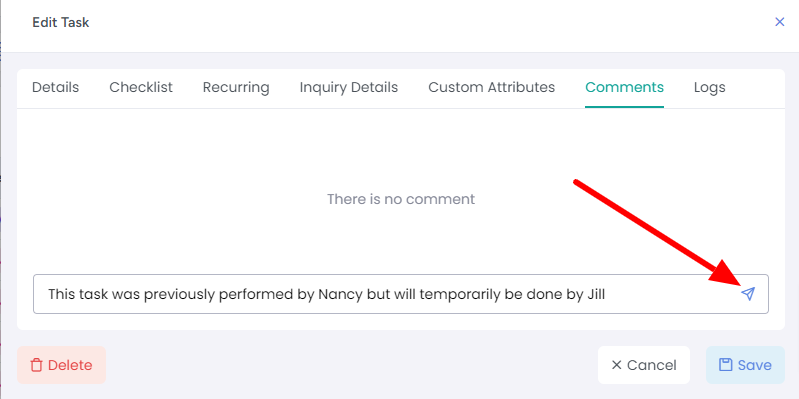
After typing your comment, click on the icon on the right to add it:
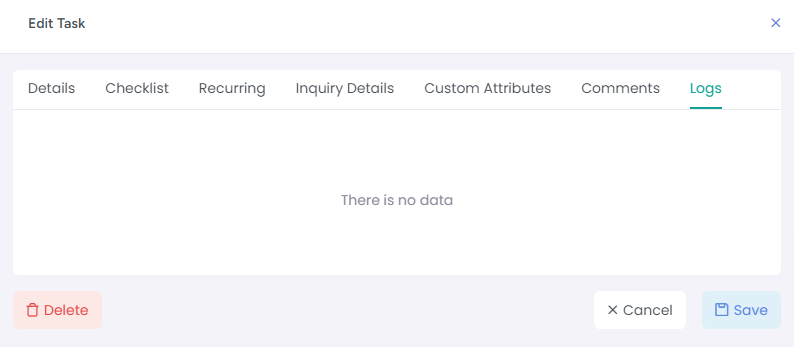
Logs tab
Here you can see changes done so far in this Task, for example if the Due date is changed or Task Due Date or Time is updated.
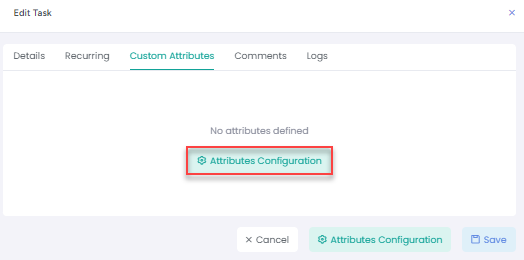
Custom Attributes tab
Another tab is the Custom Attributes tab where you can create custom attributes like String, Number, Date etc and these attributes will be used to save any unique information about the Task that you wish to.
Task Automation
To automate the creation of tasks, click on the Automation button on the Task List View

This opens an overlay as shown below that shows a list of task automations:
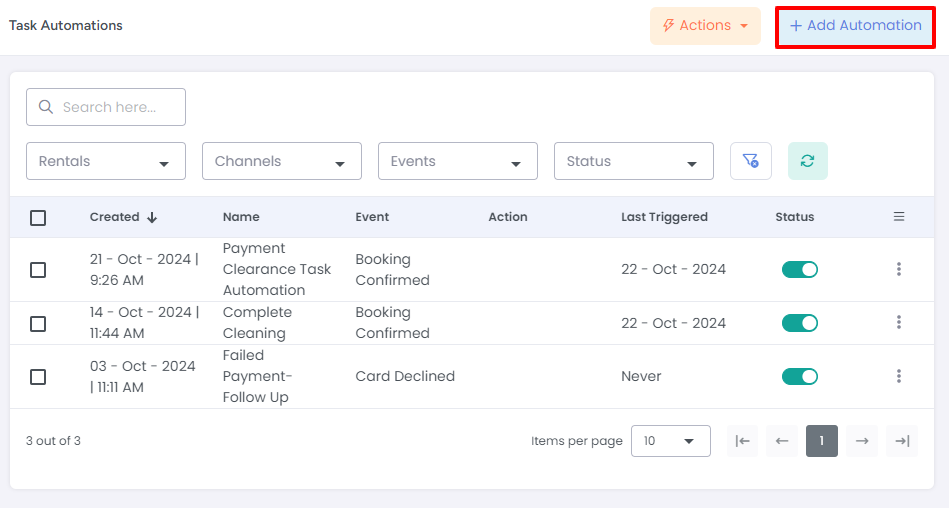
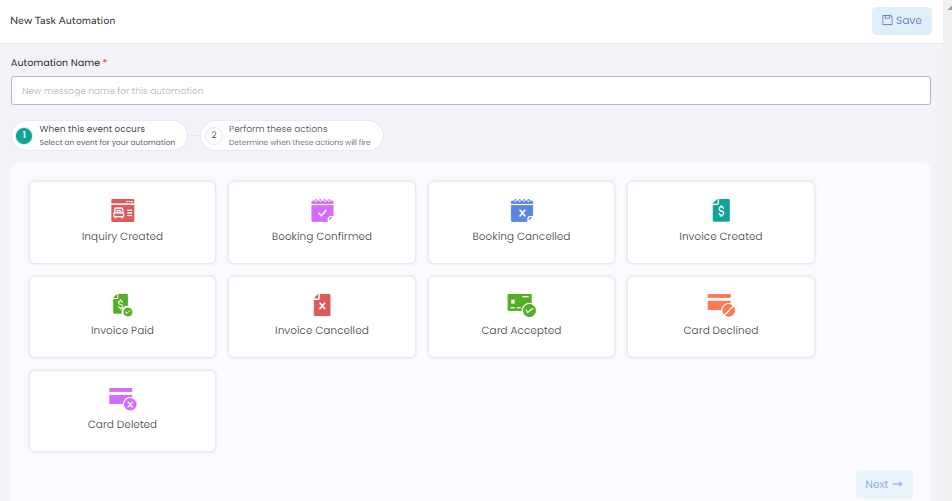
Now click on the Add Automation button to view the Task Automation Overlay where you can create automations. Further details regarding Task Automation can be found here.
Automated tasks are displayed in the Task List View with a robot icon next to them, while the manually created tasks do not have this icon.
