There are a number of best practices and things to consider when you connect your Booking.com account to AdvanceCM.
You can simply follow AdvanceCM's Booking.com wizard, which provides a status of completion of each step. Once each step is completed, a green checkmark is shown to the left of the step.
In Booking.com Extranet: Connect to AdvanceCM
Connecting Booking.com to AdvanceCM is a multi-step process and often users skip a step, usually the last one. Please read the detailed connection instructions carefully and be sure to follow all steps.

In Booking.com Extranet (https://admin.booking.com), designate “Tokeet” as the Channel Manager (Click on Property > Account > Connectivity Provider)
AdvanceCM receives an email from Booking.com and approves the connection

You receive an email from Booking.com confirming that the connection is now active in the Booking.com extranet. It's very important that this step is completed, or your availability and rate pushes will not work.
Note: Booking.com will now keep your properties closed / not bookable, until you push both rates & availability from AdvanceCM to Booking.com
In AdvanceCM: Add the property ID in Channels, link Booking.com Property to AdvanceCM Rental, Synchronize Availability and Rates
Now, connect your Booking.com property in AdvanceCM. Please make sure you have rental rates defined for your rentals first. You will need to push rates from AdvanceCM to Booking.com as part of the connection process.
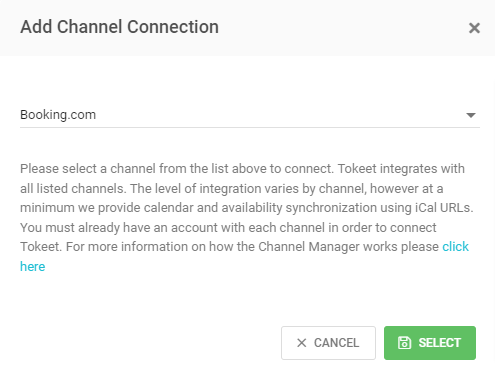
First, go to Channels > Add Channel > Select Booking.com
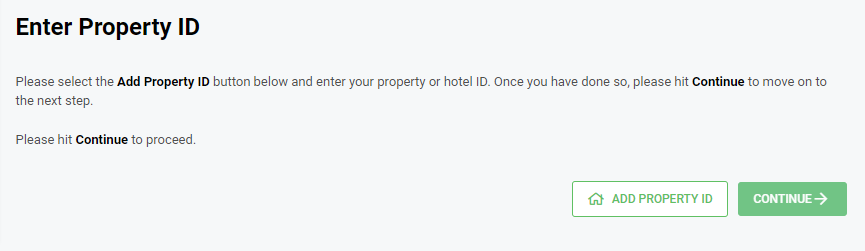
> Follow the connection wizard then click "Add Property ID" and enter the value from Booking.com

Link your Booking.com property to a AdvanceCM Rental
Once the link has been made, any new bookings or hold events which are created for your AdvanceCM rental will be automatically pushed to Booking.com. This means that bookings created in AdvanceCM or any of your other linked channels will be pushed to your Booking.com property.

Import bookings from Booking.com This will ensure that AdvanceCM is aware of any bookings previously made on Booking.com.

Push rates from AdvanceCM to Booking.com. You will want to take the time to accurately setup your rates in AdvanceCM. You must then push these rates from AdvanceCM to Booking.com. Please review this help article on best practices of setting your rates for Booking.com

Push availability from AdvanceCM to Booking.com. Please check your AdvanceCM calendar for this rental and ensure that your calendar is accurate and up to date.
If you are having trouble pushing availability: add a temporary Hold event to your Rental with status Confirmed. Once the connection is made, you can go back and delete the Hold event. Here's more info on Hold Events.
Best Practices - Synchronizing Rates
When pushing your rental rates from AdvanceCM into Booking.com, please ensure that your rates are complete and correct in AdvanceCM as your AdvanceCM rates will completely replace the rate information that is in your Booking.com account.
If you would like your Booking.com rates to be different than the rates on your other channels, you can create a new rate category in AdvanceCM just for Booking.com and map it to this channel to seamlessly push updates with a single click.
Rates do not update automatically, and must be pushed from AdvanceCM. The platform is designed this way so that you can make rate changes without worrying that the change has been propagated to the channels before changes are final.
Best Practices - Synchronizing Availability
Synchronizing availability between AdvanceCM and Booking.com is done automatically once your connection is complete. AdvanceCM will send any new bookings or confirmed hold events to Booking.com and block those dates on your calendar.